


After starting the decal tests with the new printer, I am also trying to advance step by step with the B747F cargo deck project.
Before I get into more details about the cargo project, I am glad to say that I was able to improve the results over the first tests with the livery decals. Currently fixing the A350 decals, I’ve been able to make appear again the cockpit rivets and other fonts (such as those on the doors) which were way too subltle on the first tests, so I am glad to see that details are back, printer was also able to print the very thin subtle colored lines such as those for the cargo doors.
There have been several modifications done onto the corrected (reaconditioned) A350 decal sheet in order for them to be printed with the different equipment, so instead of reworking all the liveries done so far, I will apply the airline decals onto the A350 base sheet as I did while creating the artworks, expect to do the tests for the A320 soon. It will take some time to complete this, but I go step by step.
The positive aspect of printing the decals myself is that I am able to do as many tests as needed in order to be certain that details will be well represented, color tonality etc. I will soon take pictures of the decal test print.
I also had to learn the hard way some things, so I had to purchase more decal paper, but I learned from my errors and I am able to continue.
Now on the cargo bird:
As I was afraid, I had to remove a part of the inner fuselage where the wing goes, in order to keep the floor straight. I wanted to mess as little as possible with the fuselage, the wing root will also need a small cut, this is something that had to be done because the way Revell designed the wing union, did not have into consideration the interior space (as there is no interior in the kit).
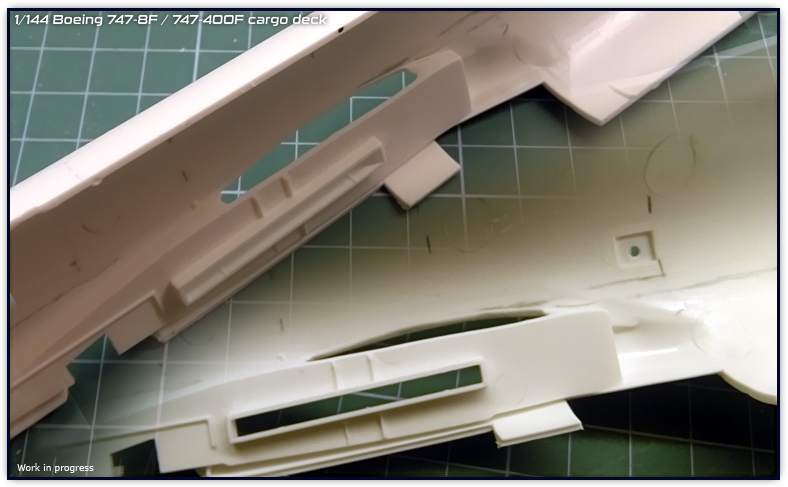
One of the things I had to decide was how to work on the interior. The first idea was to create the interior separately and then place it on the inside of the fuselage, however, many things depend on the fuselage. For starters, the nose area will have detail which is attached directly on the wall itself, wing root needed the cut modification, L1 and SC doors have been opened, also, due the roof required on the compartment, the cockpit plastic part will be modified and extended as per the hump room/resting room.
Another dependant situation is the attachment of the cargo deck, for which I made two rails with the purpose of deck placement.
The best solution and the more accurate one is to work directly on the fuselage. This will ease things for me and will allow me to make a better representation of what I try to do, it would be very hard to make the parts in such a way they would fit the shape of the fuselage, latches and actuators are placed directly on top of the nose cut, so I prefer to leave the fuselage ready in this aspect.
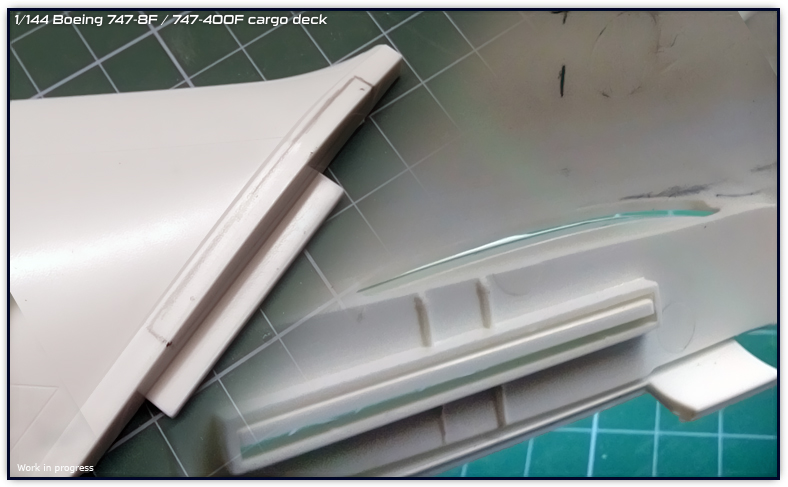
Side cargo door opening edges will also be sanded down to reduce plastic thickness and create a more realistic scale effect with the real airplane.
At the same time I was cutting the L1 and the side cargo door, I thought that while I was at it, it would not be a bad idea to open the other cargo doors since I was already adding the cargo deck. Thus this would be a completely full door set.
Perhaps it will be more costly for me to cast 85% of the fuselage with the full interior in it, but it will be easier for the modeler in order to avoid adjusting so many things, such as cutting the hump. So basically it would be closer to just builiding the two fuselage halves but with the interior. Of course having to make bigger molds will also represent using more materials, but I have in mind to use some additives to lessen the cost.
One of the negatives of doing such a big conversion, is that this one cannot be used with the Zvezda kit (at the moment) and only with the Revell 747-8i or 747-8F. However, if things go well and I can overcome the initial costs, I may do a surgery to the fuselage and replace the wing root and nose gear sections so that the interior can also be used for the 747-8i from Zvezda with Zvezda wing and nose gear unions.
For the 747-400F version, instead of re casting the fuselage and deck again, it would be specified in the instructions where to cut and what parts to use to make the shortened version.
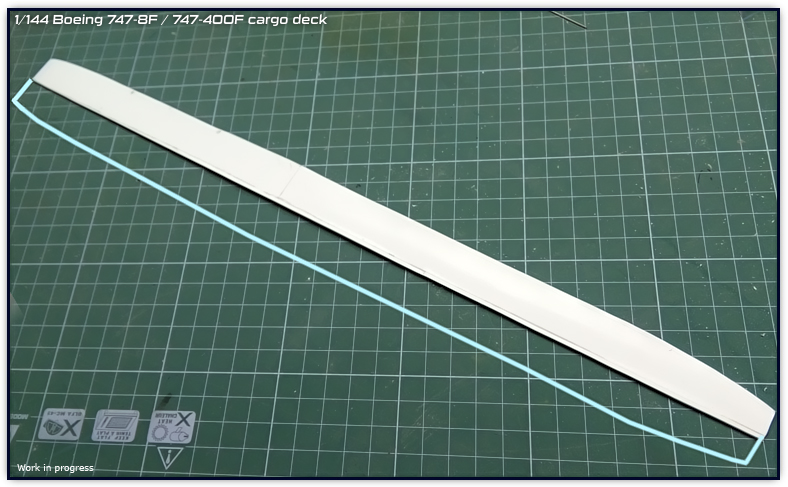
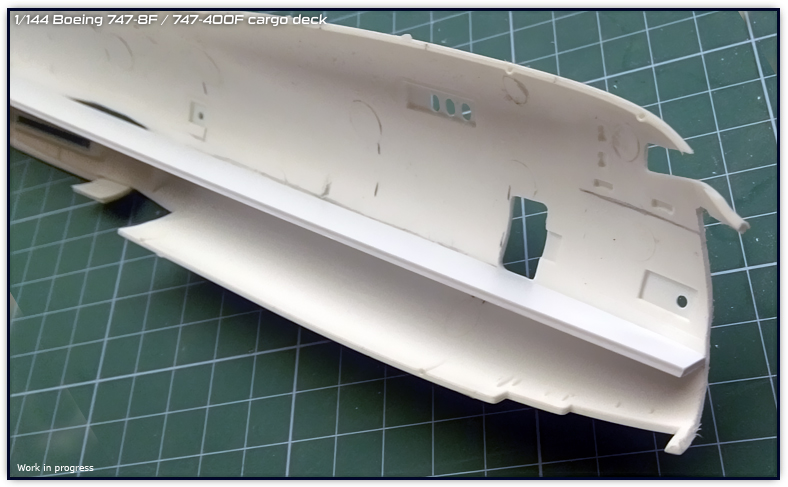
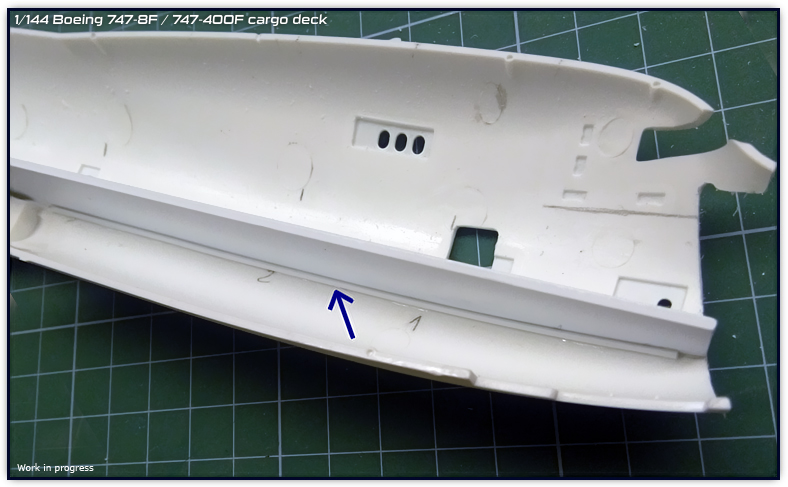
Making half of the deck wasn’t easy because firstly I had to find the shape of the fuselage (on the interior) and another difficult aspect was to perfectly match the half of the airplane. If the deck was too wide, the fuselage halves won’t close, if it was too narrow, the deck would not join both fuselages.
By doing several tests, gluing the deck on one fuselage halve and placing this on a flat surface, I was able to find the center. Now that I have one half of the deck, I will proceed to make the exact same part to make the other half and join them together.
The deck will carry as many details as possible, so I am looking forward to work on this area.
Thank you all for reading,
Guillem