


Hello everyone,
These days I am fully working on the preparations for the new items but also making more units of the items that are currently out of stock at the store, so it is a very, very busy time for me.
It will still take me about three weeks before I can have everything ready, so I am aiming to release the new items and restock the rest by the second week of November.
I am also going to work on the 1/200 Schopf F110 models, but their release may be pushed a bit more towards the end of November due some changes that I am also doing.
As you may have noticed, I changed the logo a bit some time ago, some instructions had it changed and some kept the old one. So this time, taking the chance that I was making the instructions for the 1/72 scale Schopf F59, I decided to renew all the instructions and make them so that they are a bit larger.
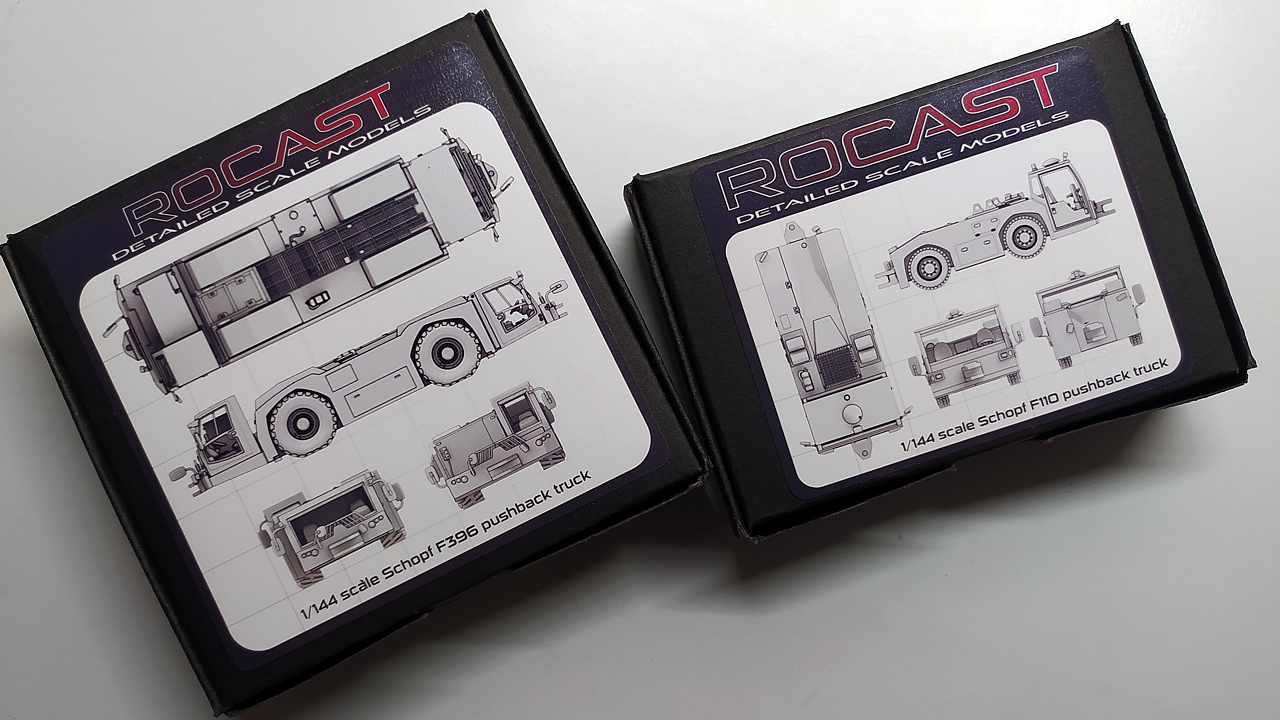
For this reason, I also have been working and doing a lot of tests to improve the product boxes, they are now sturdier, a bit wider but also less taller. On my way, I also have been able to improve the finish of the bended edges.
New covers for these products have been designed, with the peculiarity that the drawings are a precise representation of the real size of the model, so when you see the cover of the boxes, that size of the drawing represents the size of the final assembled model.
There has been a transition between one designing program and another, so this time the instructions for the 1/72 Schopf will be a bit more colorful and so will be the decals placement instructions:
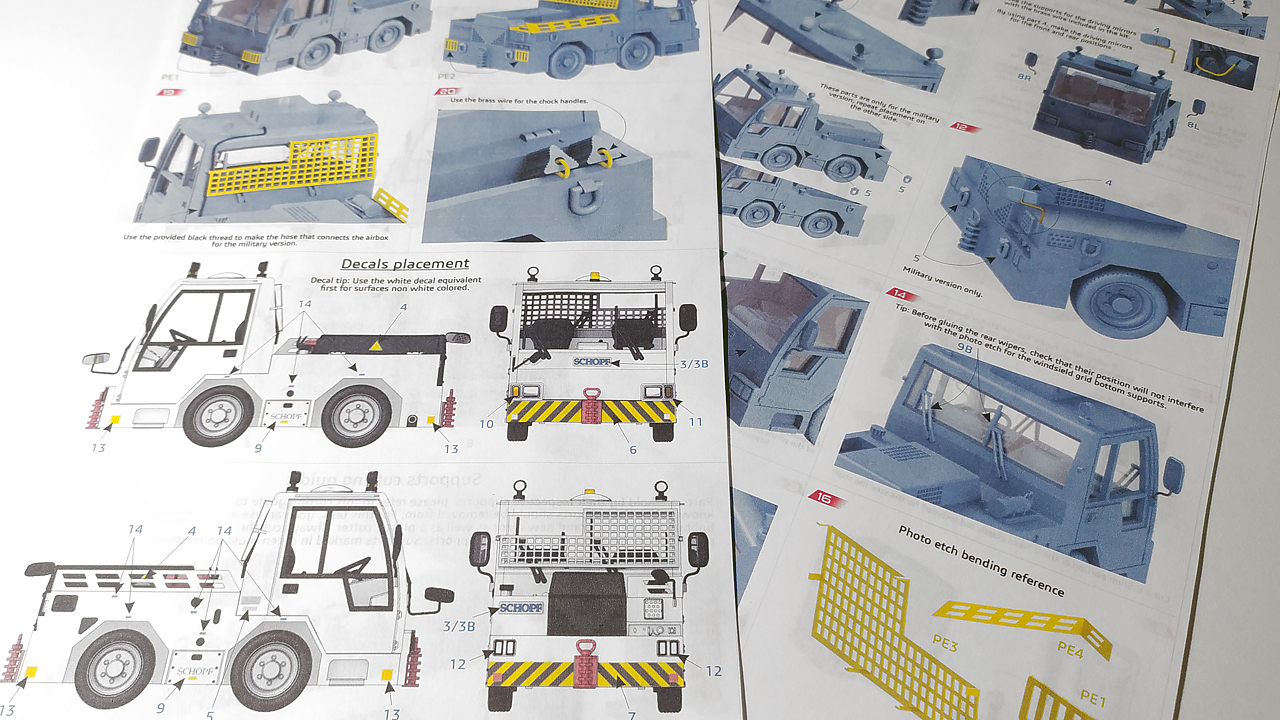

Although the other items have the instructions size updated, the design will remain the same except for the section “Supports cutting guide” which will show the parts and their supports in a larger view to ease on the task of removing the parts from their base supports. It would take me months to redesign and re render in colors all those items, so for this reason I will leave them as they are with the improvements mentioned earlier.
For the next projects, whether in 1/144 or 1/72 scales, the instructions will be designed in this new way, with more colors, closeups, and larger size.
With that being said, I would like to share the last piece of GSE that was pending for me to complete; the new baggage carts.
It took me a lot of time, because I had to make up to three different side curtain designs before I obtained the result that I wanted.
I also took a chance to make something that the previous baggage carts did not have; a set of different luggage piles.
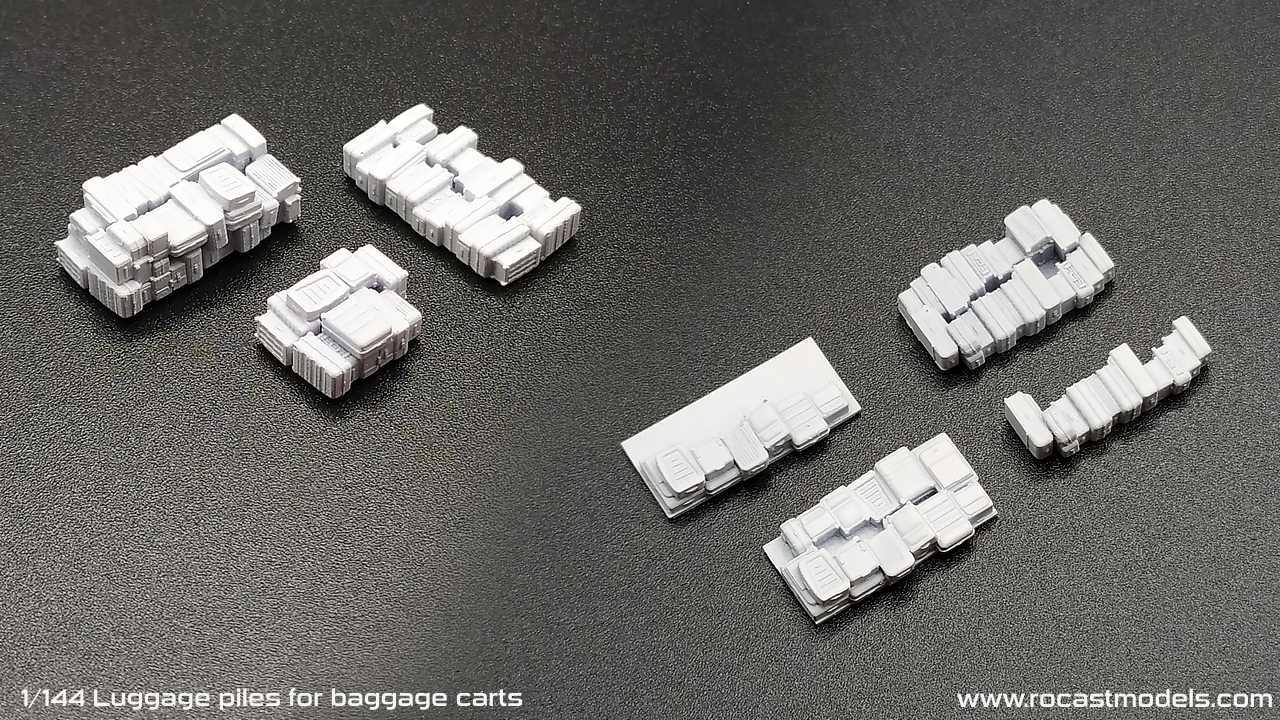
These piles were made to achieve more realism than gluing the separate bags as a whole. They are situated tighter to each other and the sets have different luggage quantities in them.
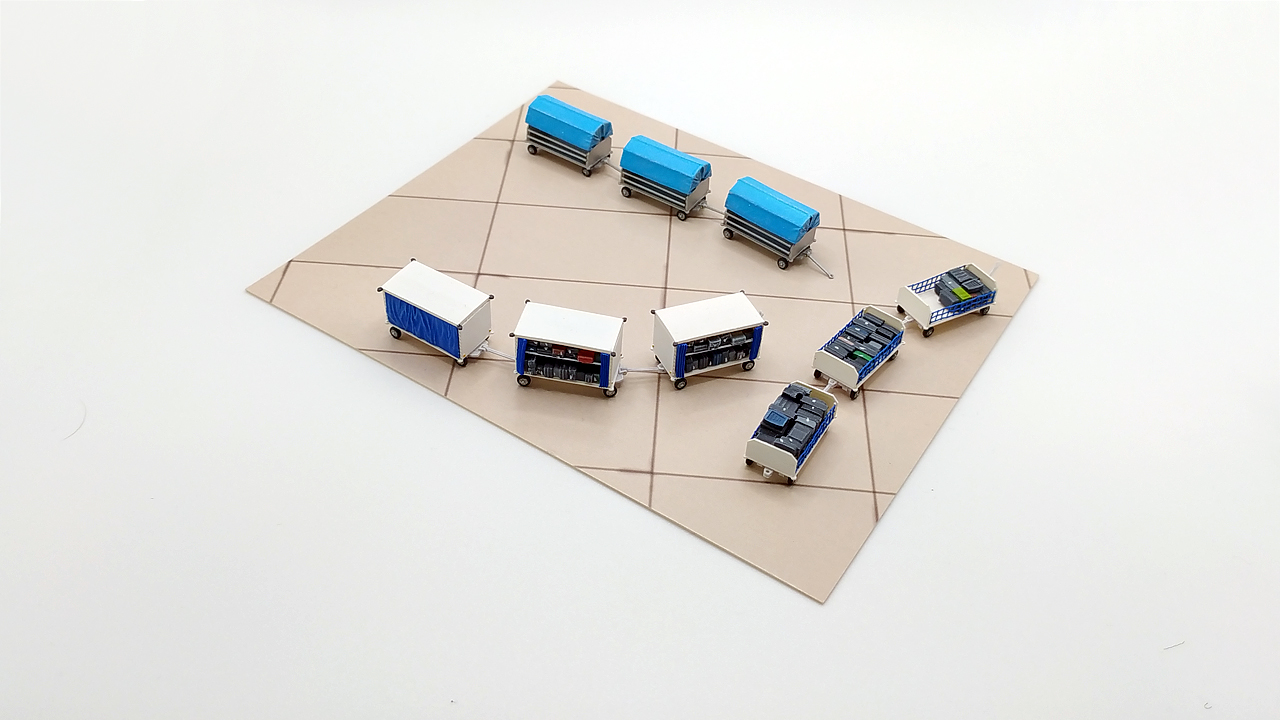
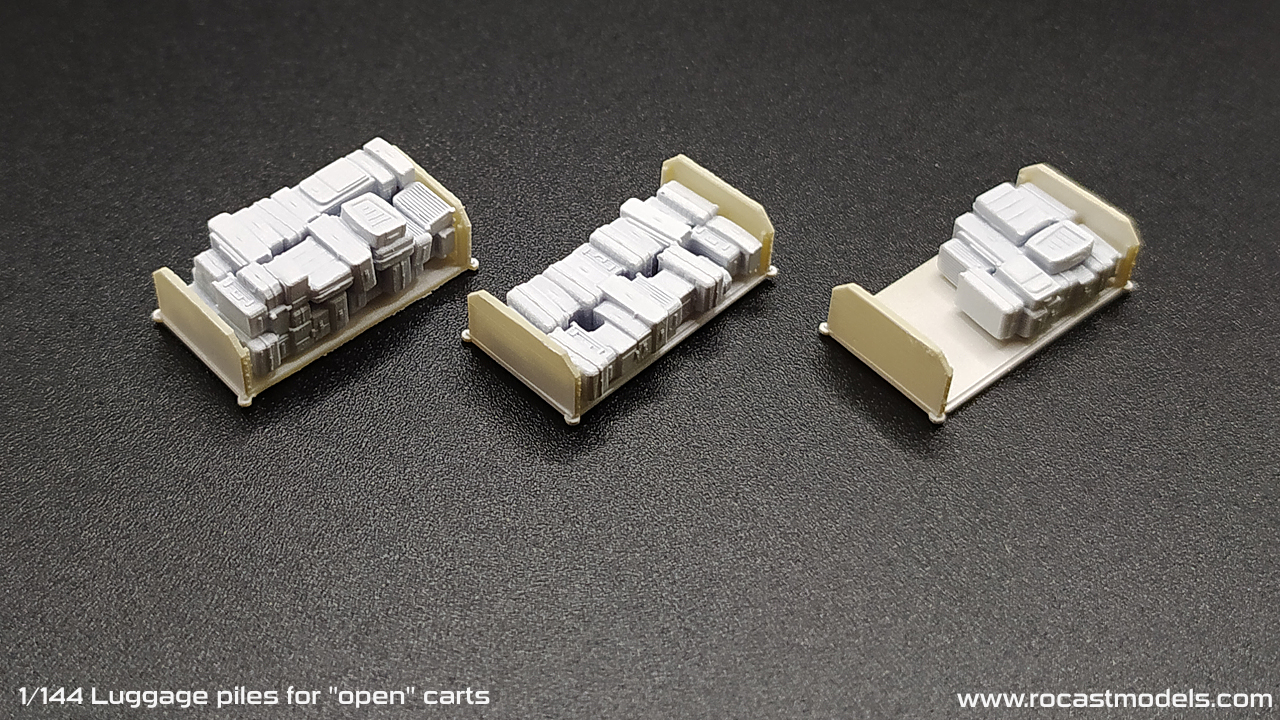
At first, there are two main sets, one for the open cart:
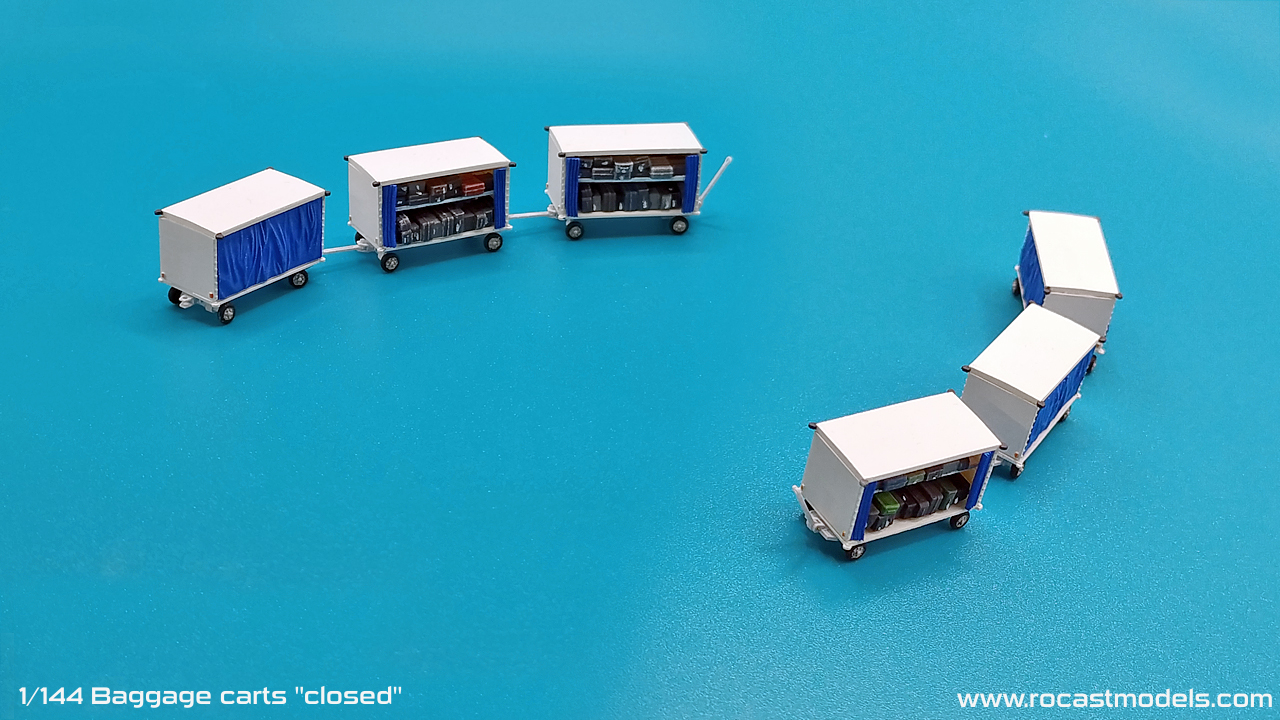
And the other one for the closed type:
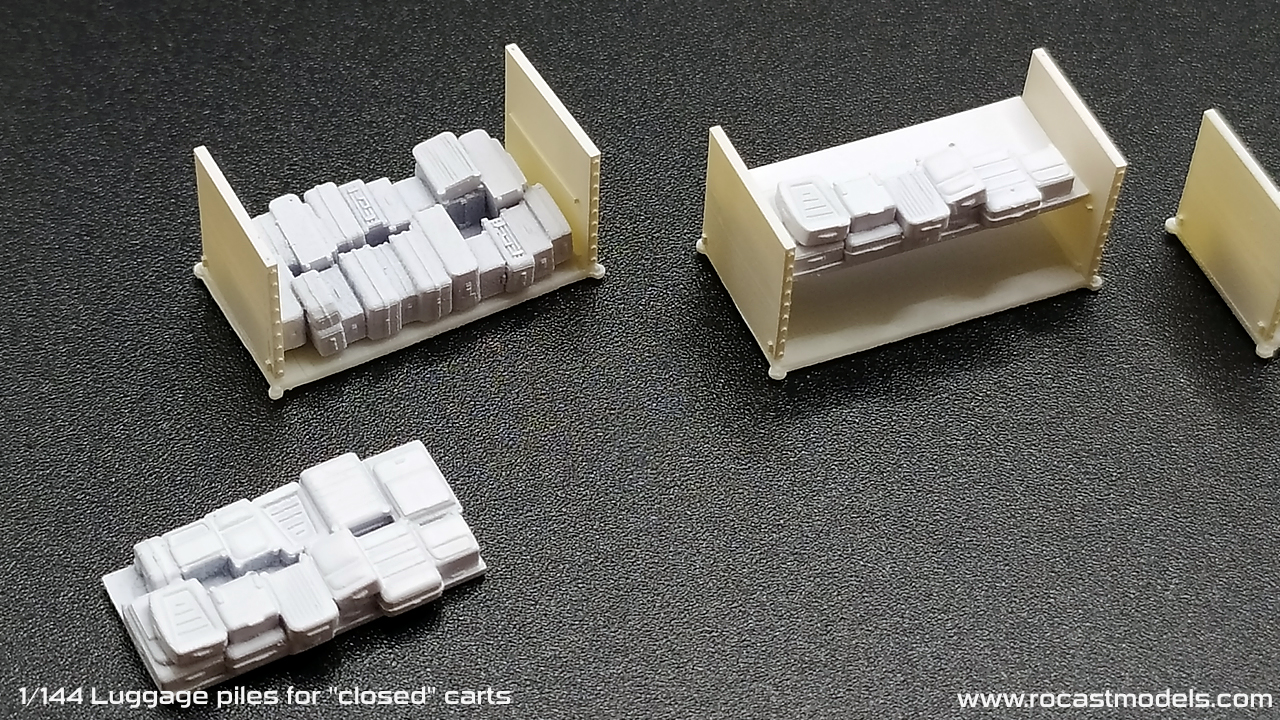
The luggage for the closed version has the shelf or divider beneath them, they are also made in a way in which A) only one side is full, assuming that the opposite side is closed with the curtains or B) both sides have luggage assuming that the curtains are folded at the sides.
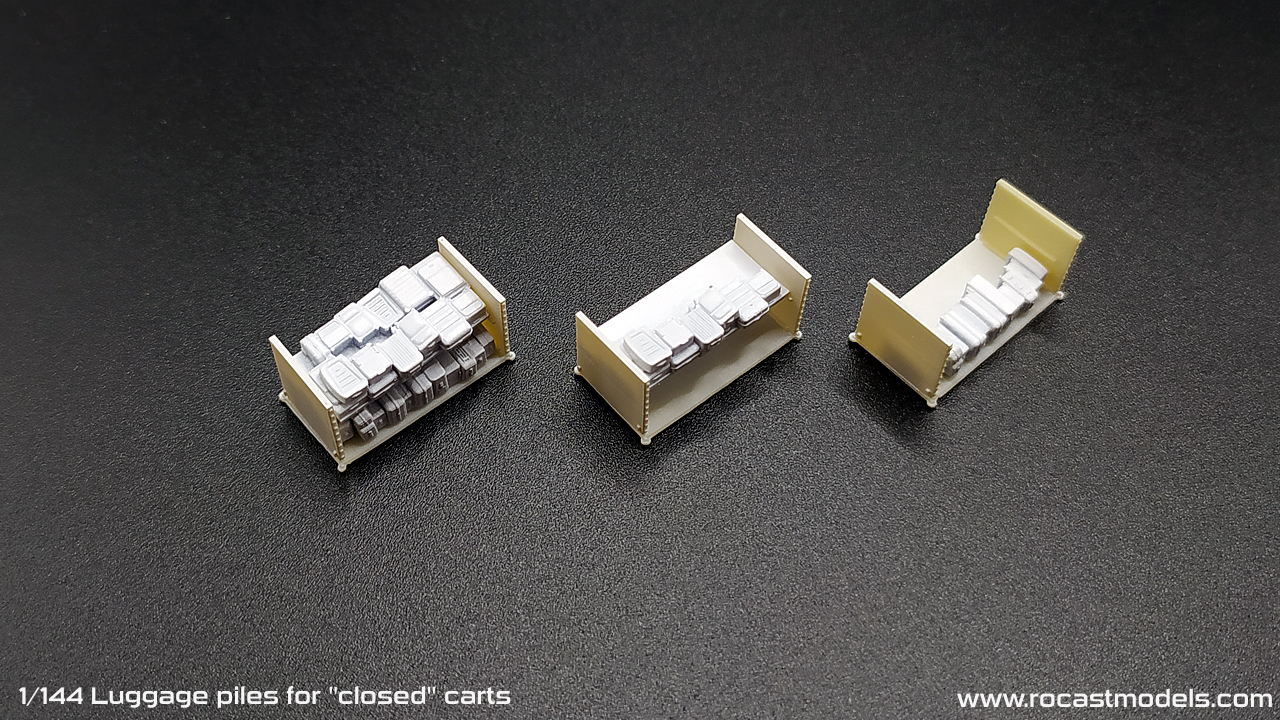
Some may be interchanged, but for example, the set with the double pile won’t fit on the closed cart if you want to use a shelf divider.
I am thinking of making a quick and easy to understand compatibility chart. Also, the luggage will be sold separately because of the different options available for the luggage carts.
I am not sure I will be on time, but I would like to create more variations so that all carts have different luggage positions, this would be a good idea if you want to represent a baggage cart full of luggage on the three carts and don’t want them to have all three the same luggage layout.
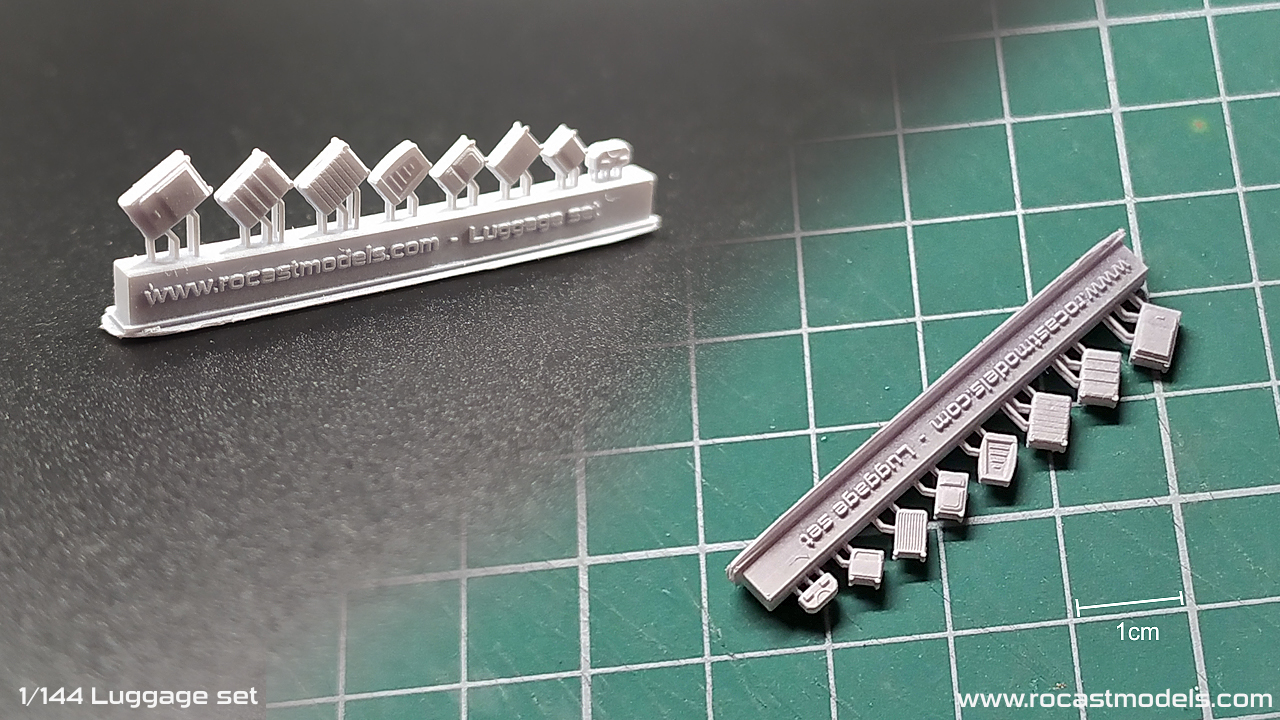
A new separate set was also made using dimensions of real luggage, I think it is very useful as sometimes they appear around the luggage carts, separated from the pile in the process of loading or unloading:
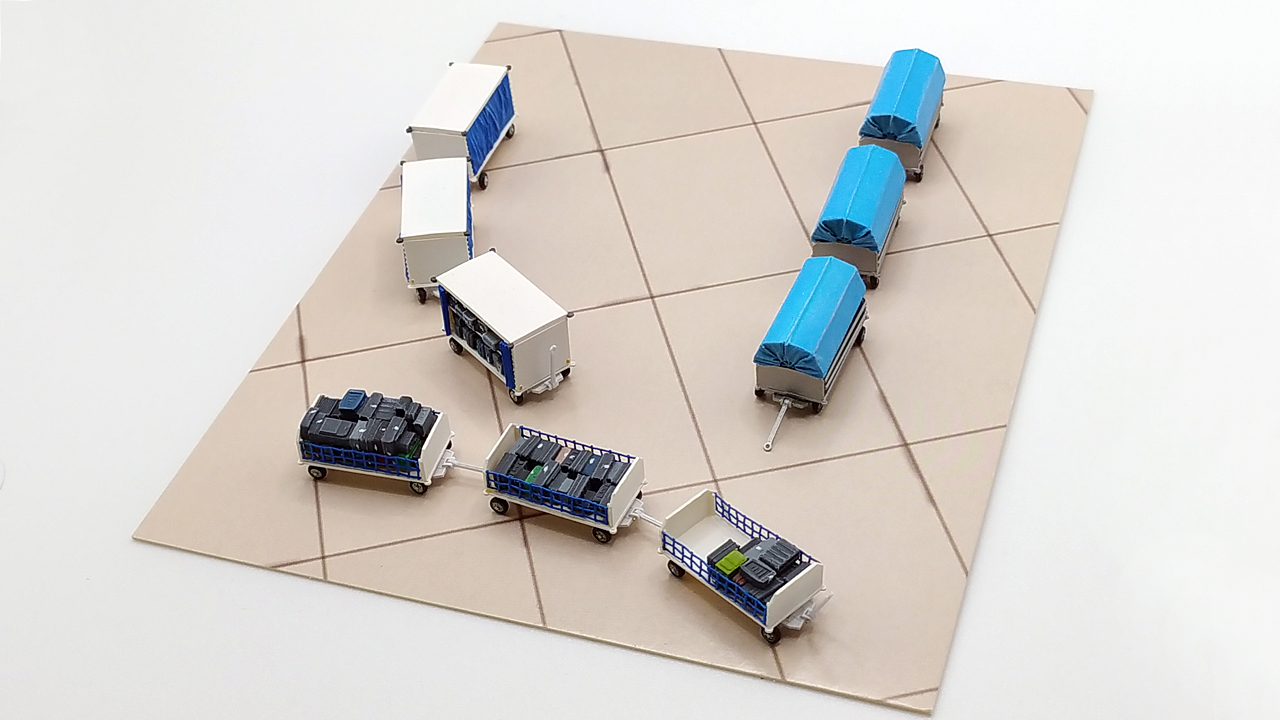
The new type of baggage carts were designed from real cart designs and besides the rotation of the front axle, their towbar also can move up and down. They can also be interconnected with the help of a little pin (for which spares are included).
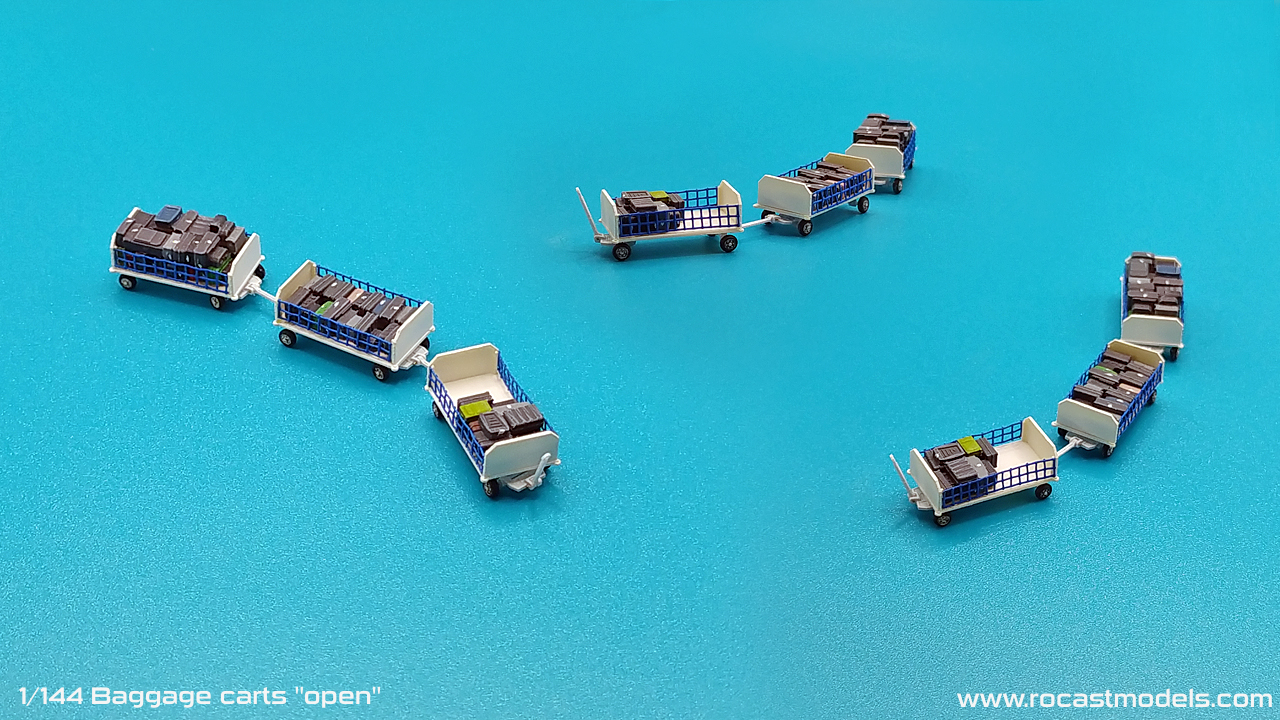
The open cart set will include a mesh that you can glue at the sides, it is however an optional thing and you can actually customize them as you like, for instance, by adding side rails with thin plastic rods or wires.
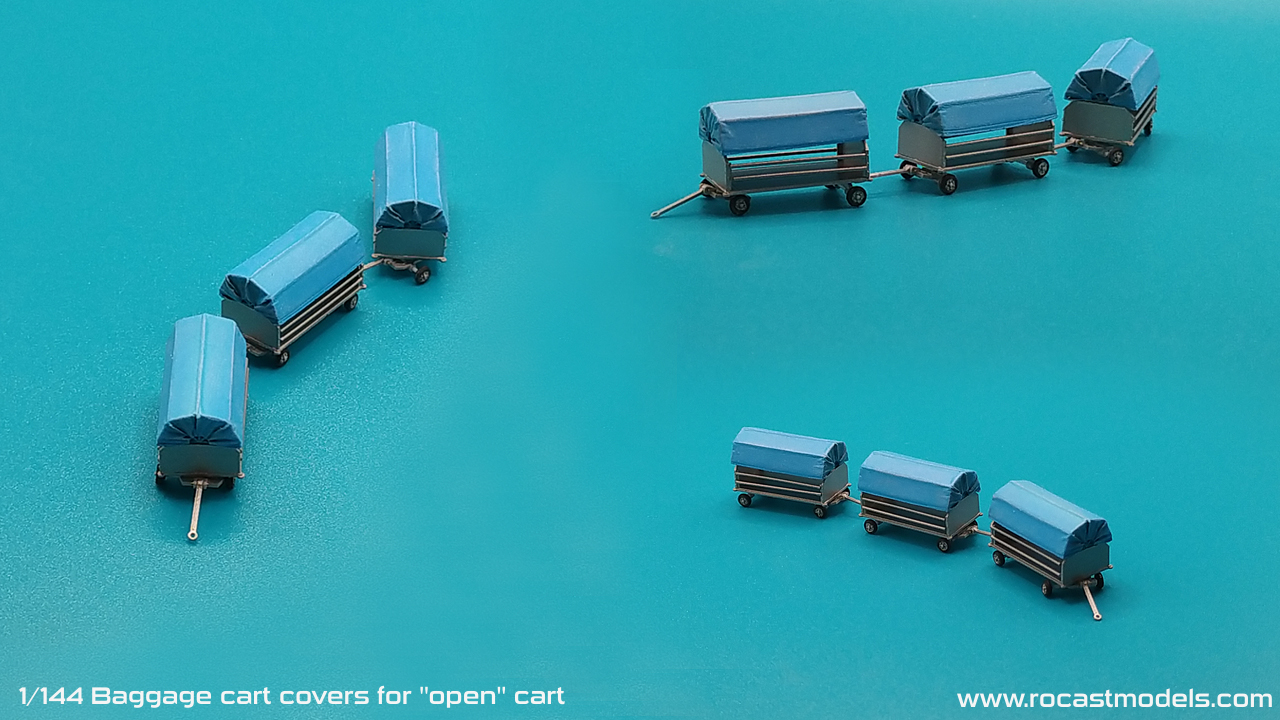
The cart shown above is not a new type, but rather an accessory for the “open” cart version. Its contents are three covers which is a style of cart that I saw in diverse airports.
At the beginning of my post, I was mentioning changes that I was doing, some of them also have to do with the online store for which I will be changing the product thumbnail images to use the new render engine from the software I currently use.
Also, during the next week I will be updating the website version and theme, so you may notice some changes in the theme and menus at the blog page.
Now, before I finish my post, I want to share something that I recently received:
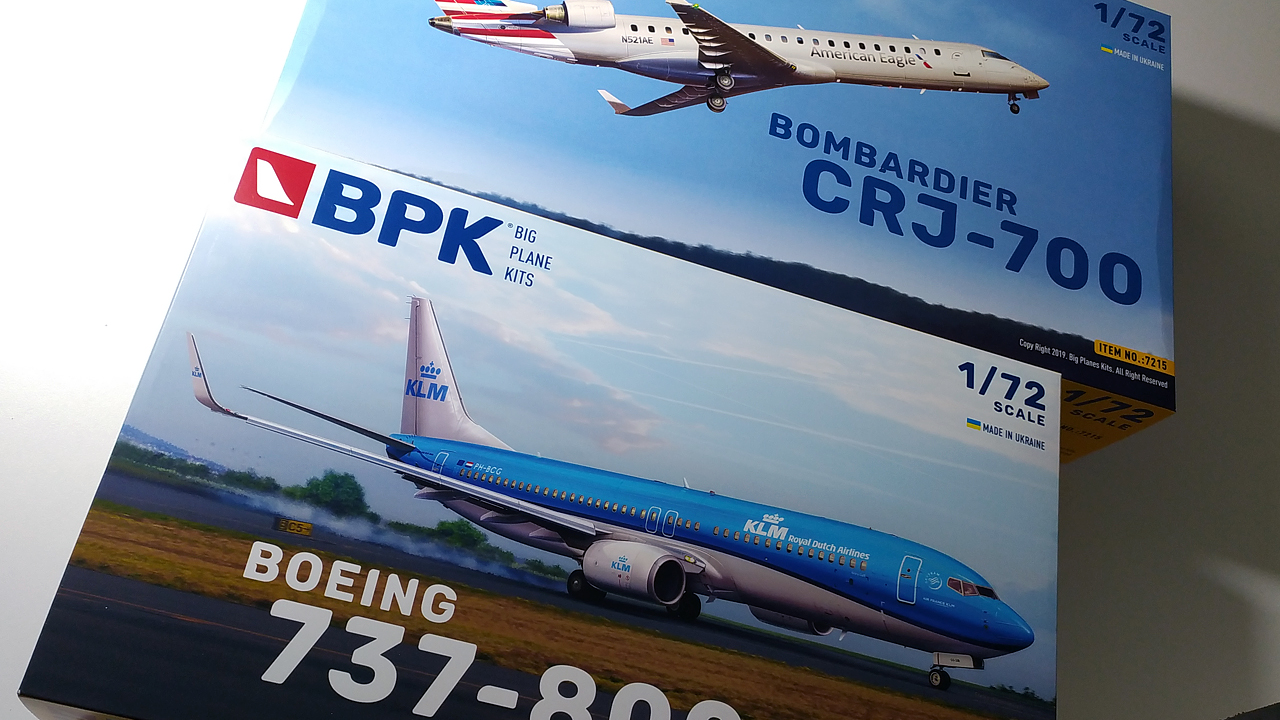
It has been quite a long journey for these two magnificent 1/72 scale kits to arrive home, as you know due the current situation in the world, customs may be a bit more strict, specially for these two kits that came from Ukraine.
I want to say that I have no sponsorship with BPK (Big Planes Kits) nor Reskit Models, but upon opening these boxes and observing the parts, I thought they deserved to be shared with you.
My friend Gustavo recommended these to me and I am glad that I listened to him. I had difficulties with customs because in Spain, some new regulations were added so extra paperwork had to be presented, however, the people from Reskit in Ukraine have helped me enormously and I have to say, although I do not often contact with sellers so I don’t have much experience on that, that their service and attention was impeccable.
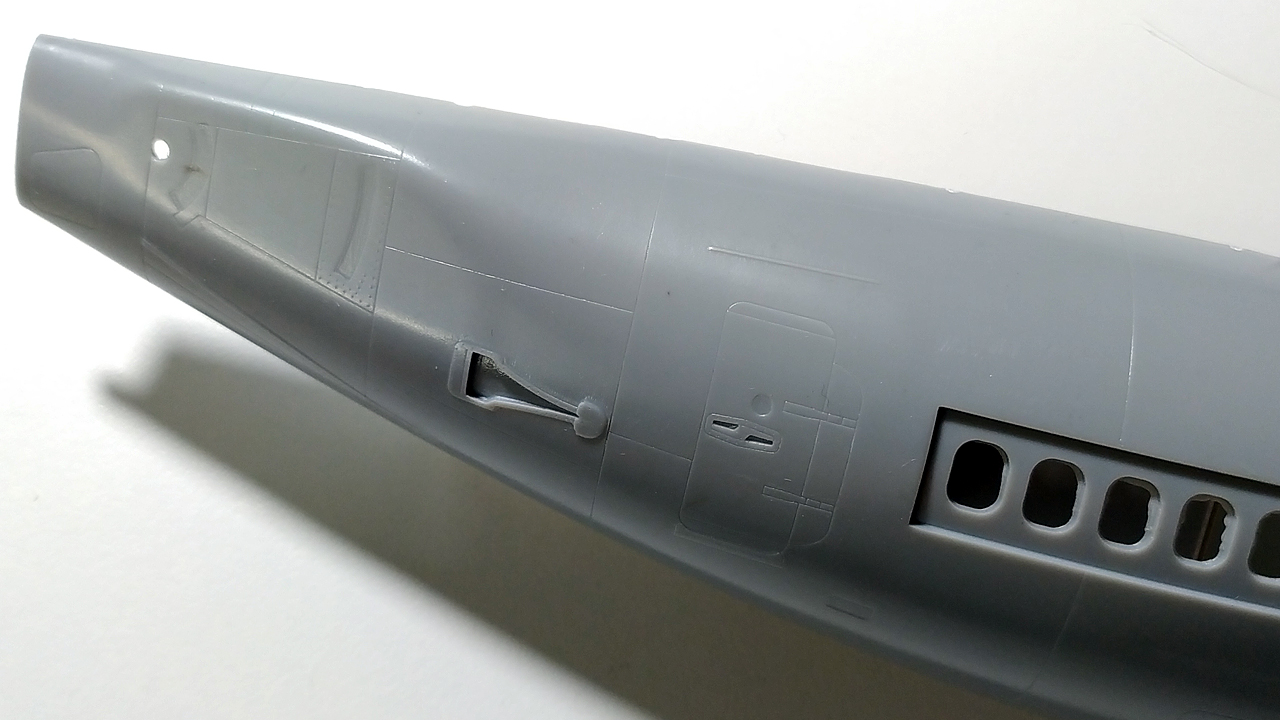
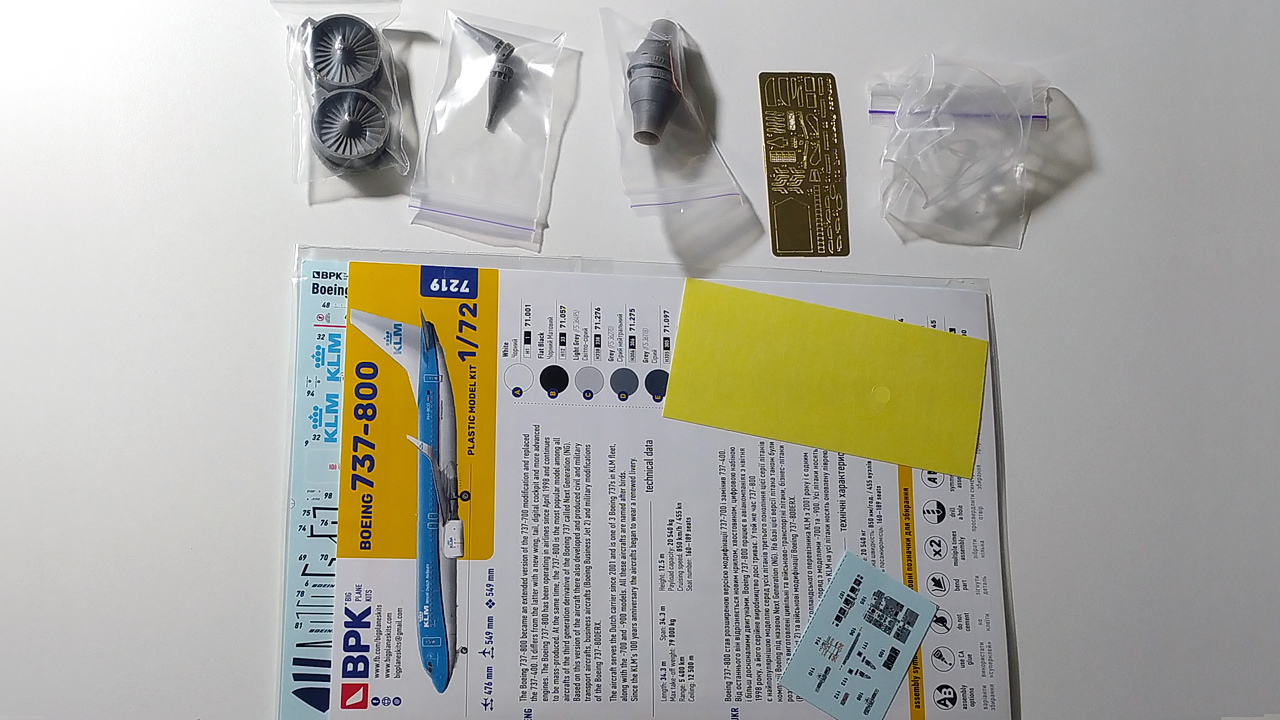
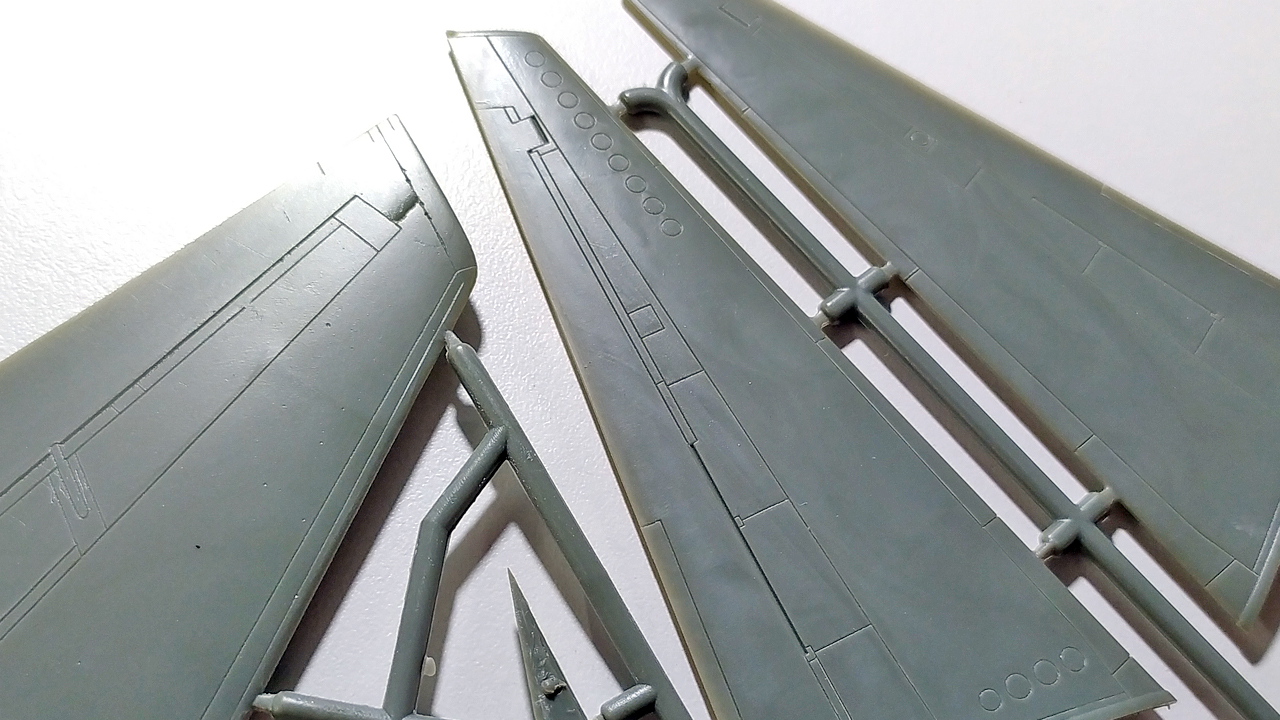
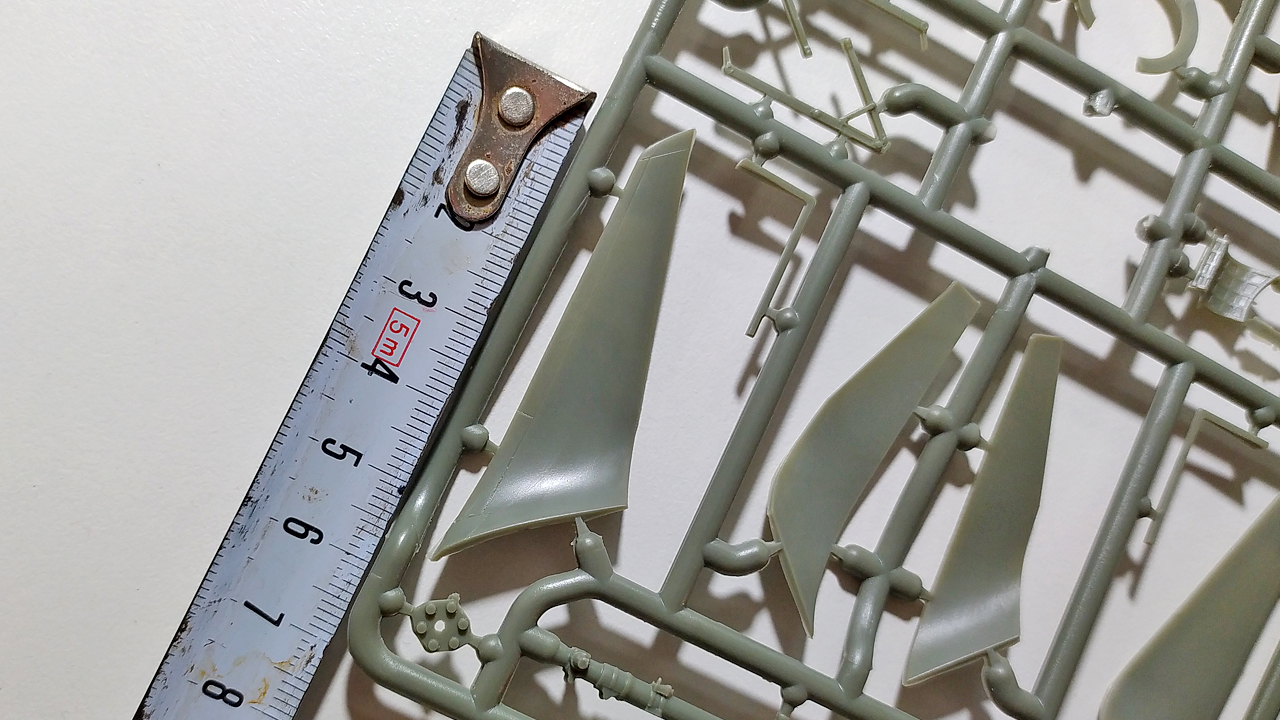
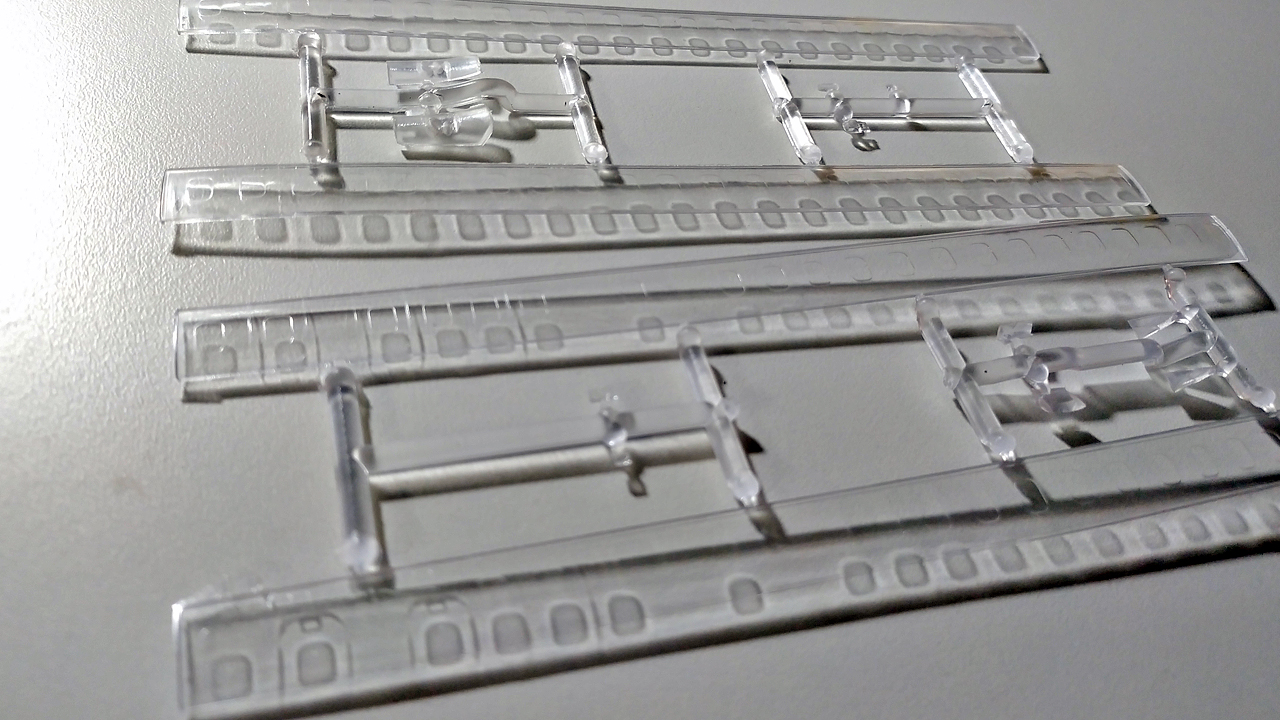
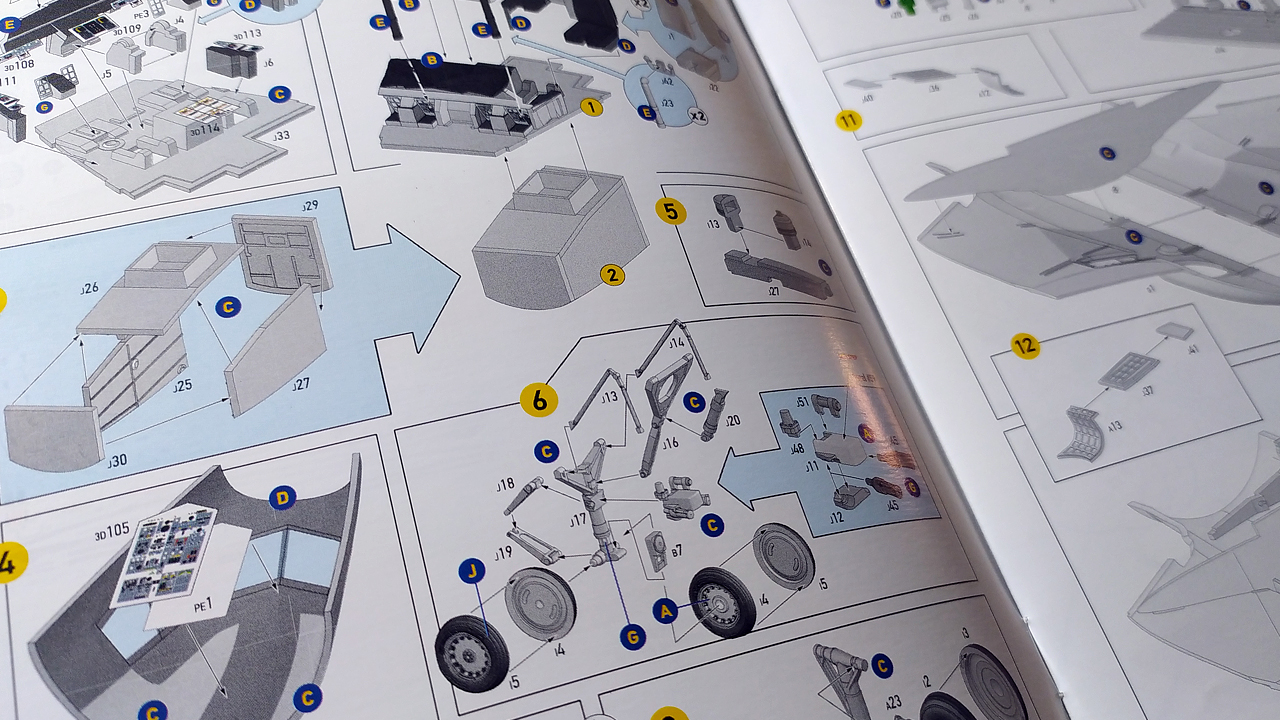
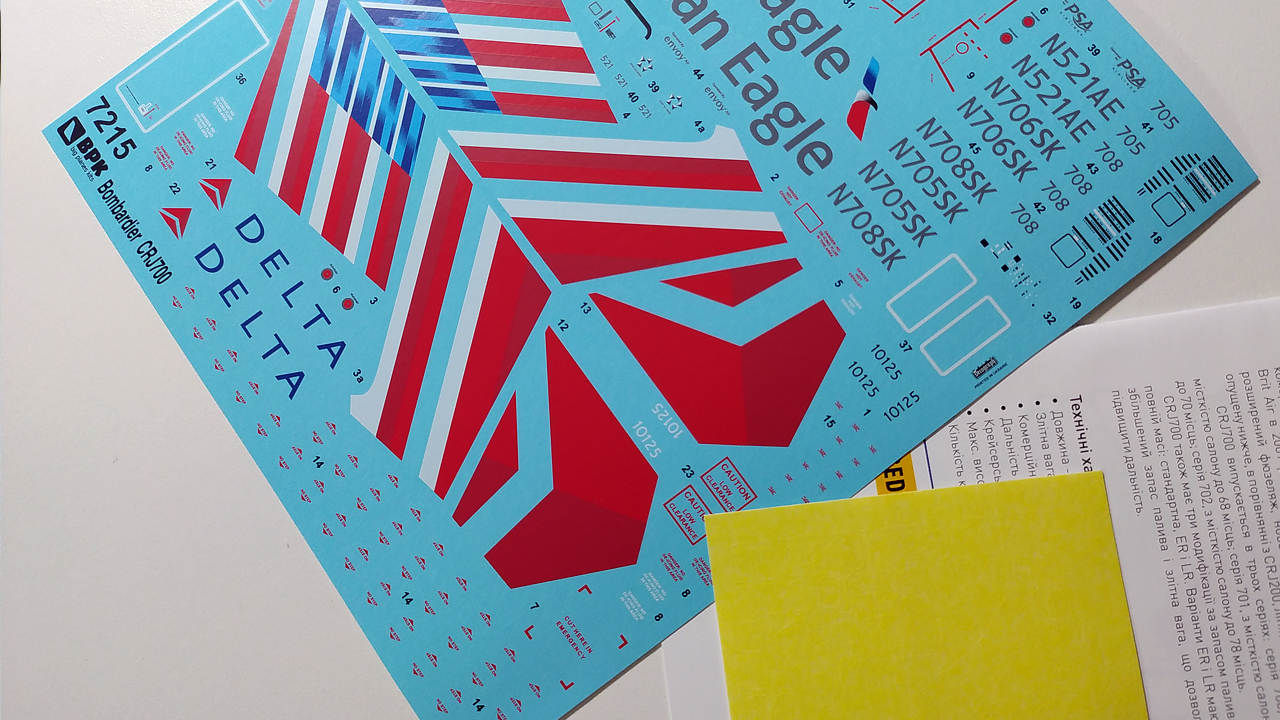
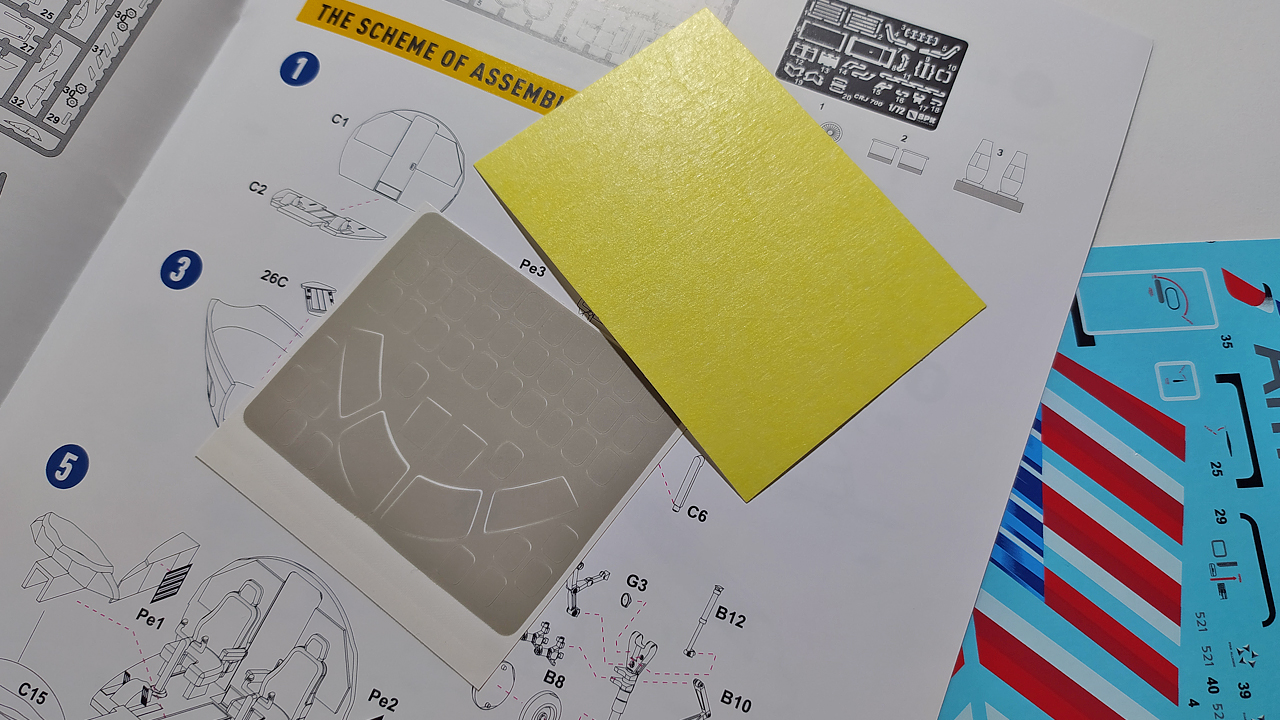
Now onto the kit, it is for me, an “ultimate kit”, this kit has everything: injected plastic parts, resin parts, photo etched parts, decals, 3D decals, window maskings, clear parts… And very beautifully designed instructions.
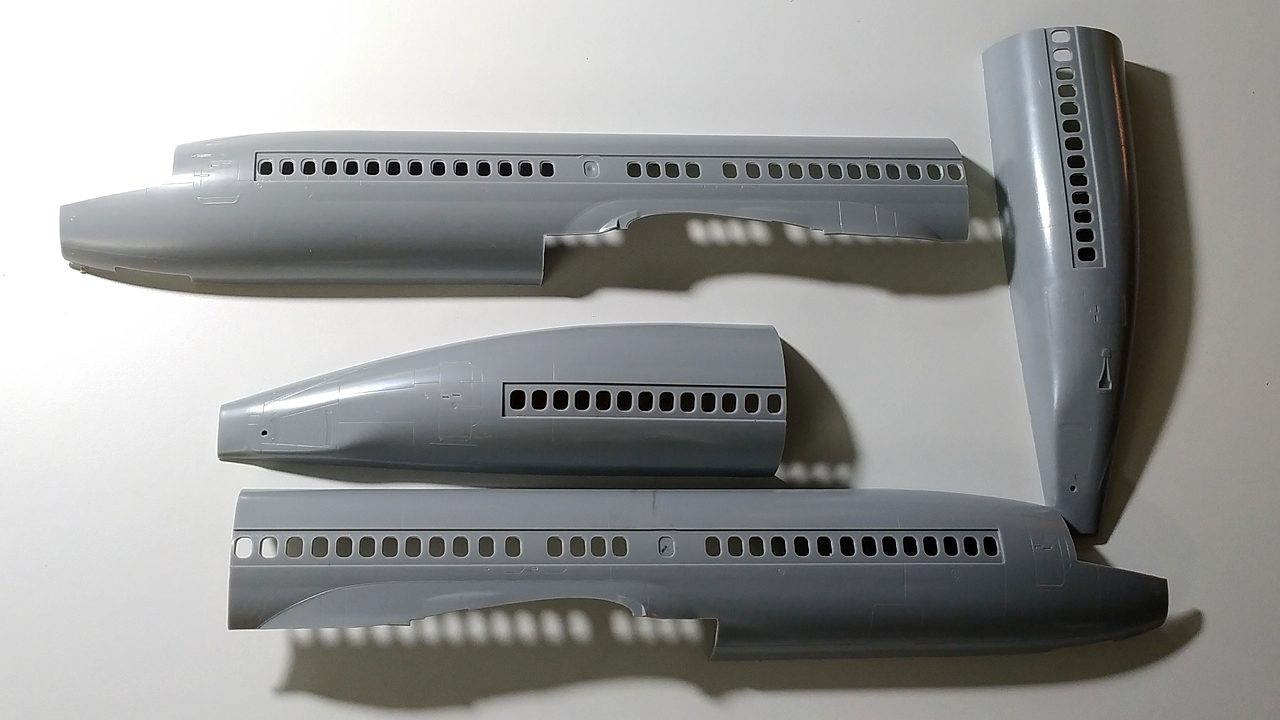
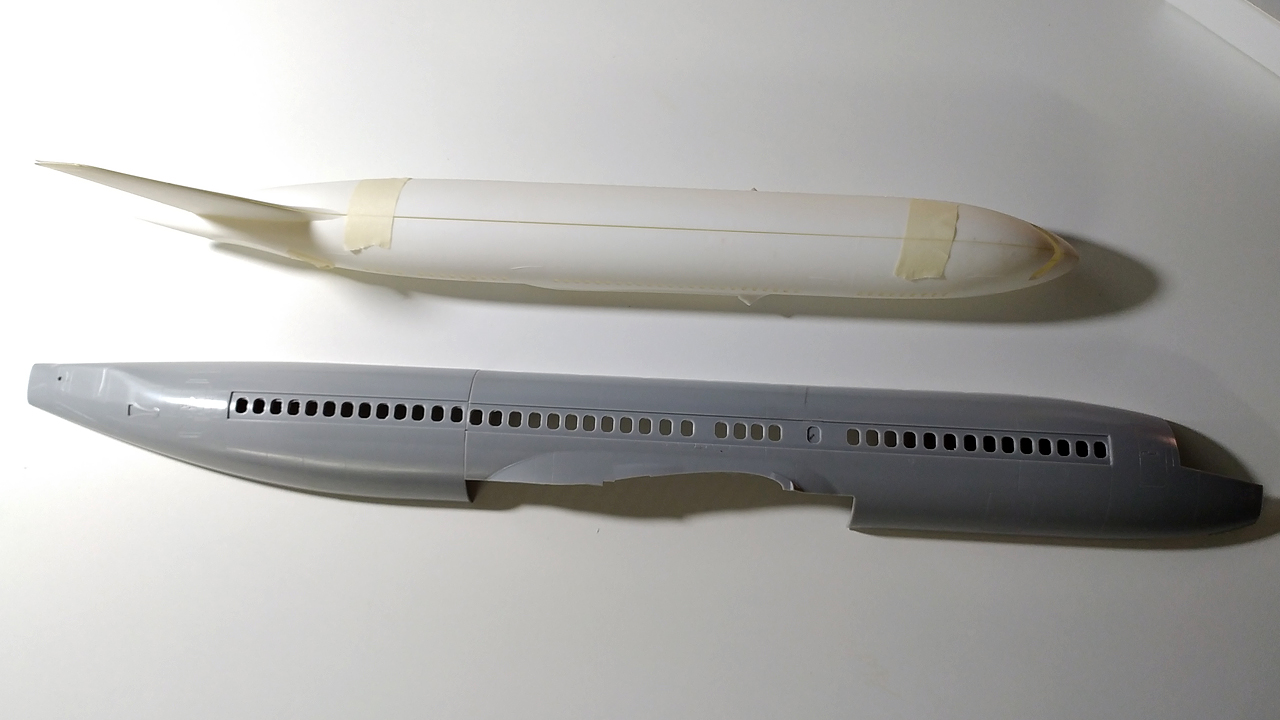
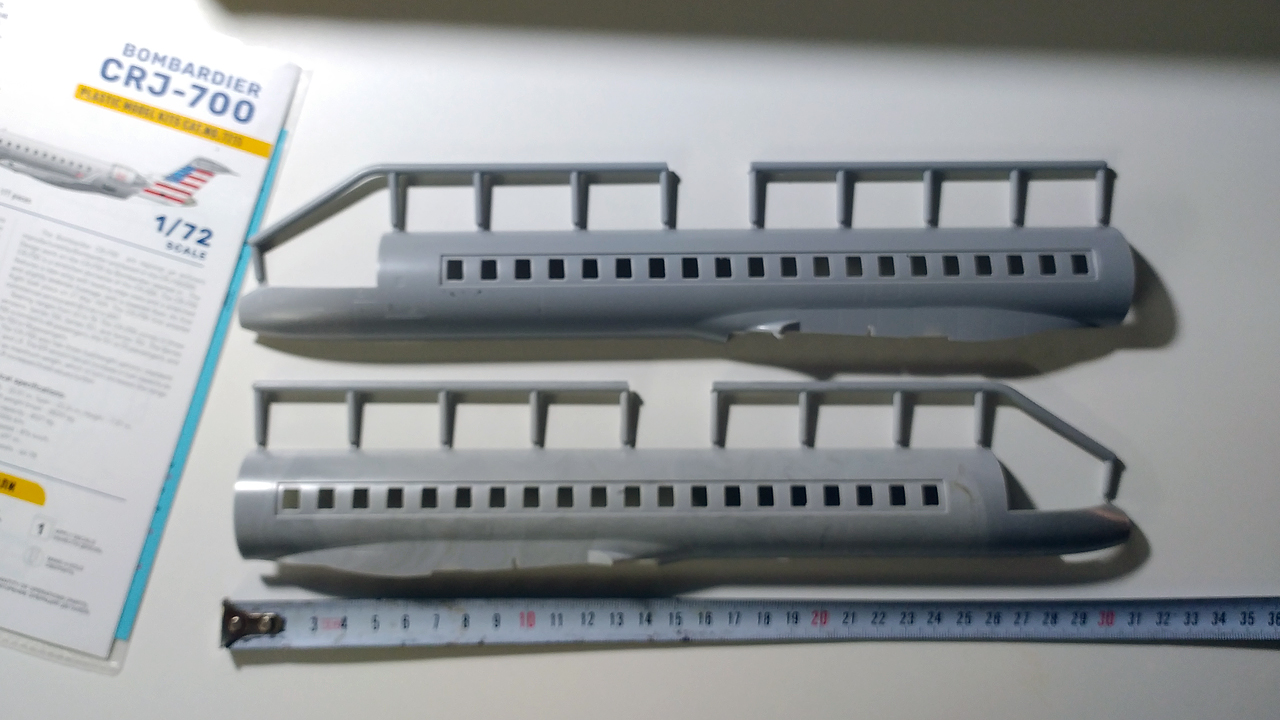
The fuselage is huge, some may not be fond of having to glue it this way, but one has to consider the size and the space that it would take to ship something like this, also it may ease things on production which I fully understand.
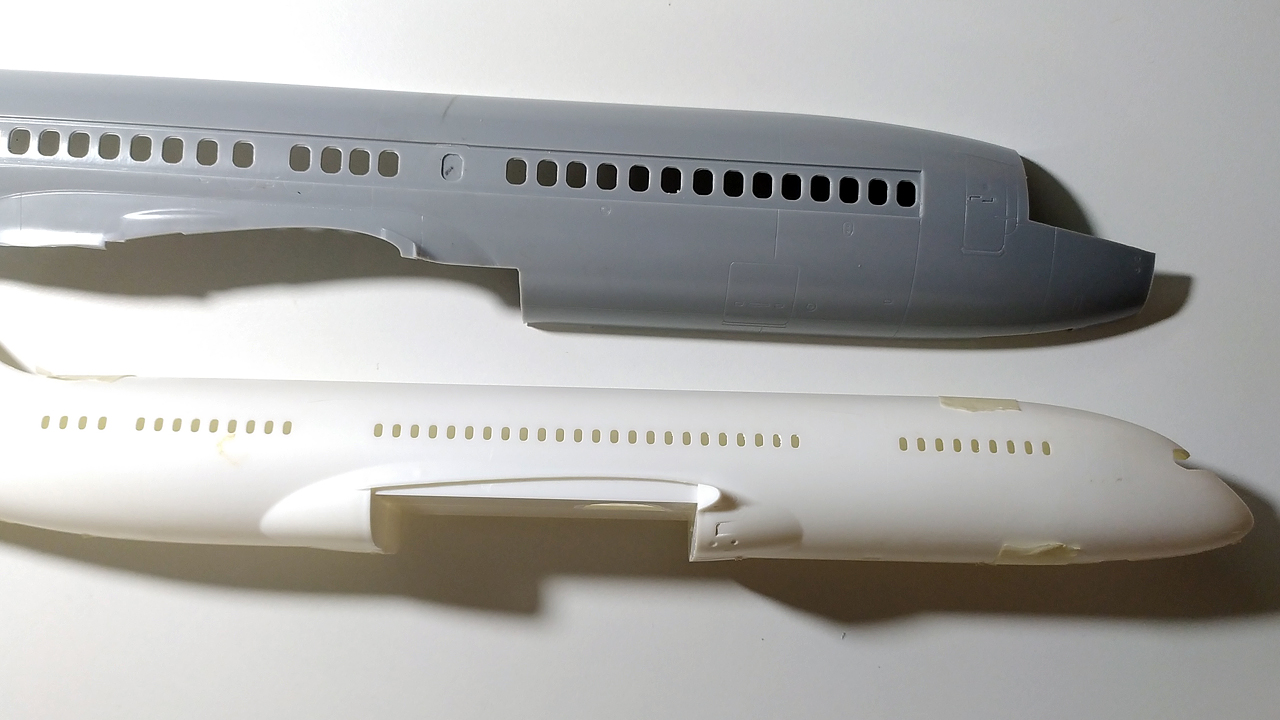
Here are some comparisons with the B787-8 from Revell (I may be covering some B787 subjects on my next update).
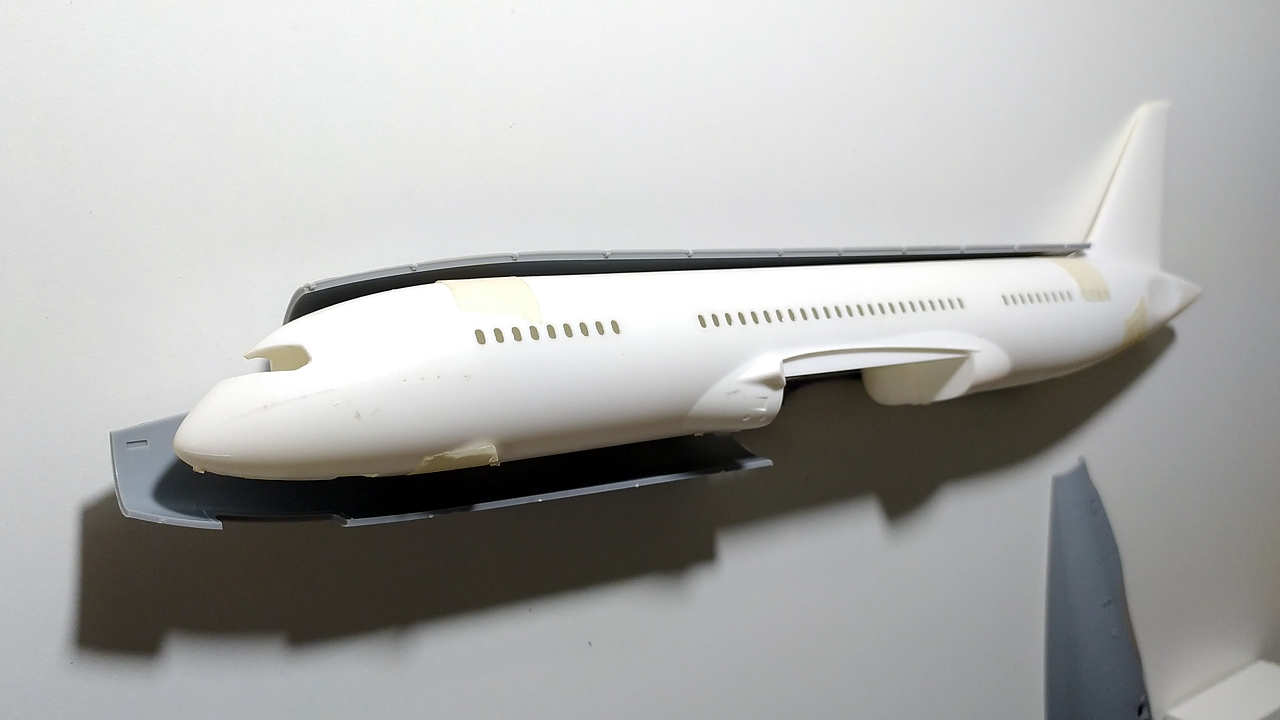
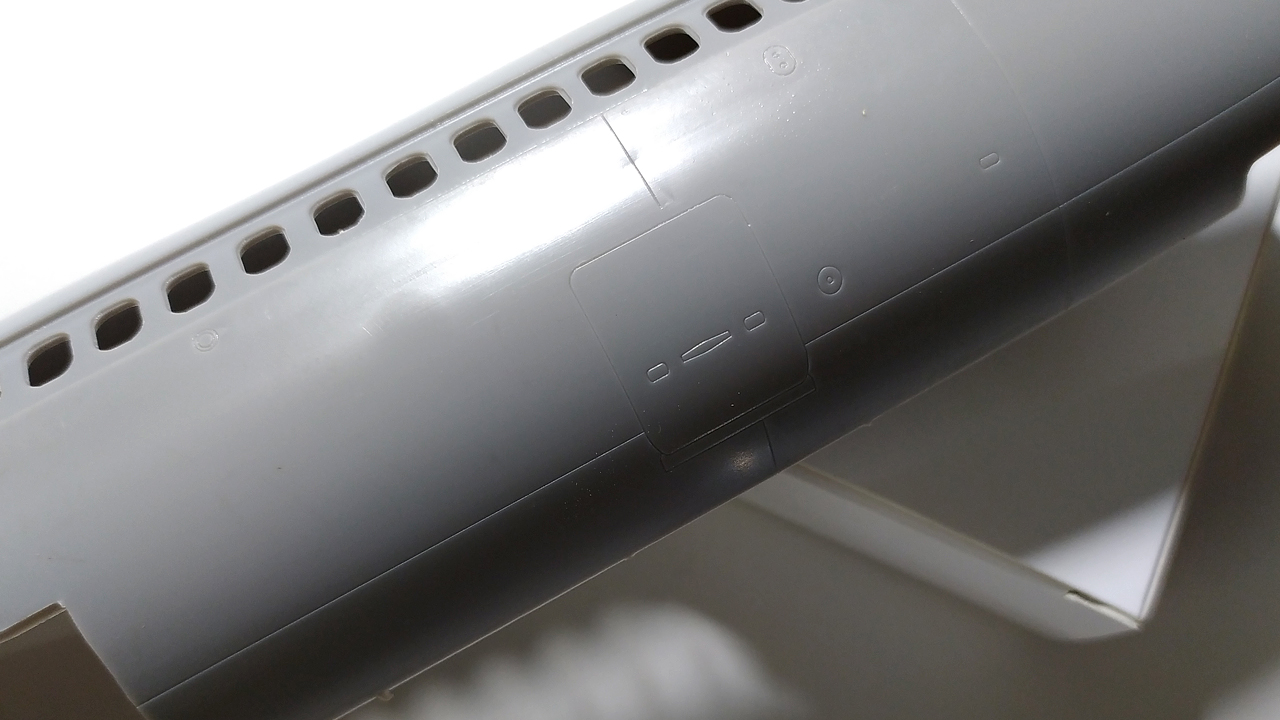
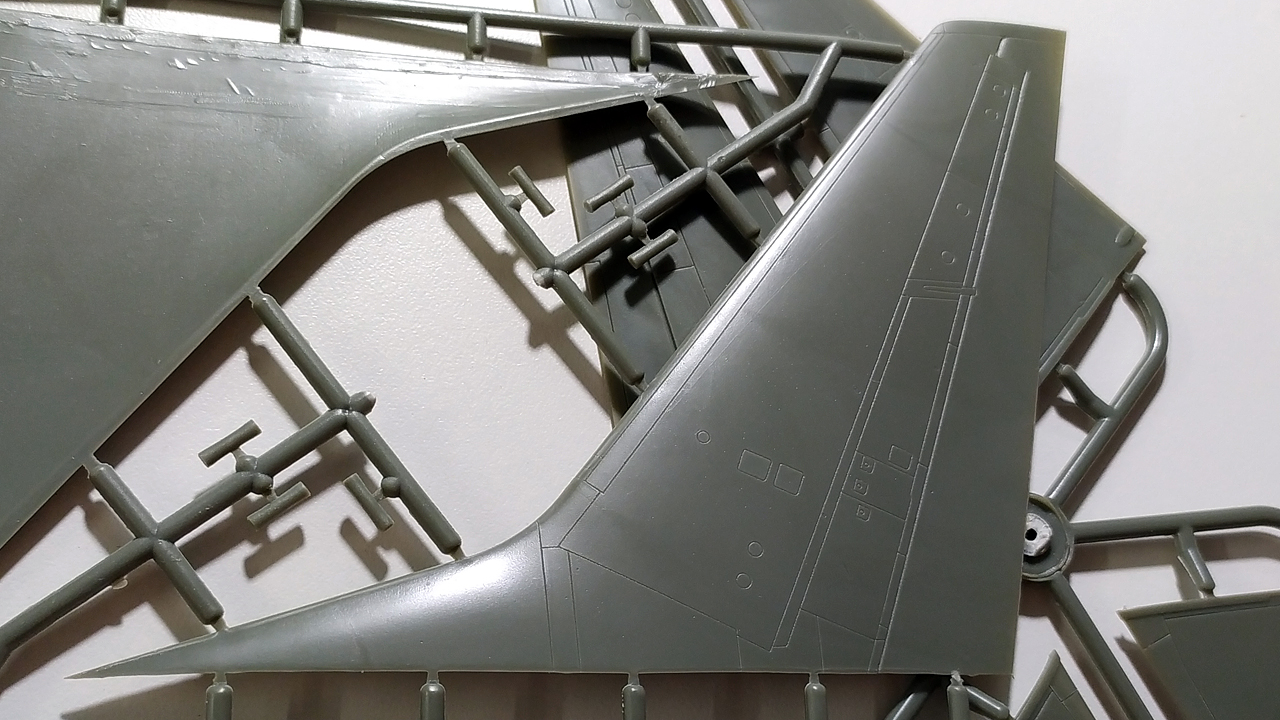
Some closeups:
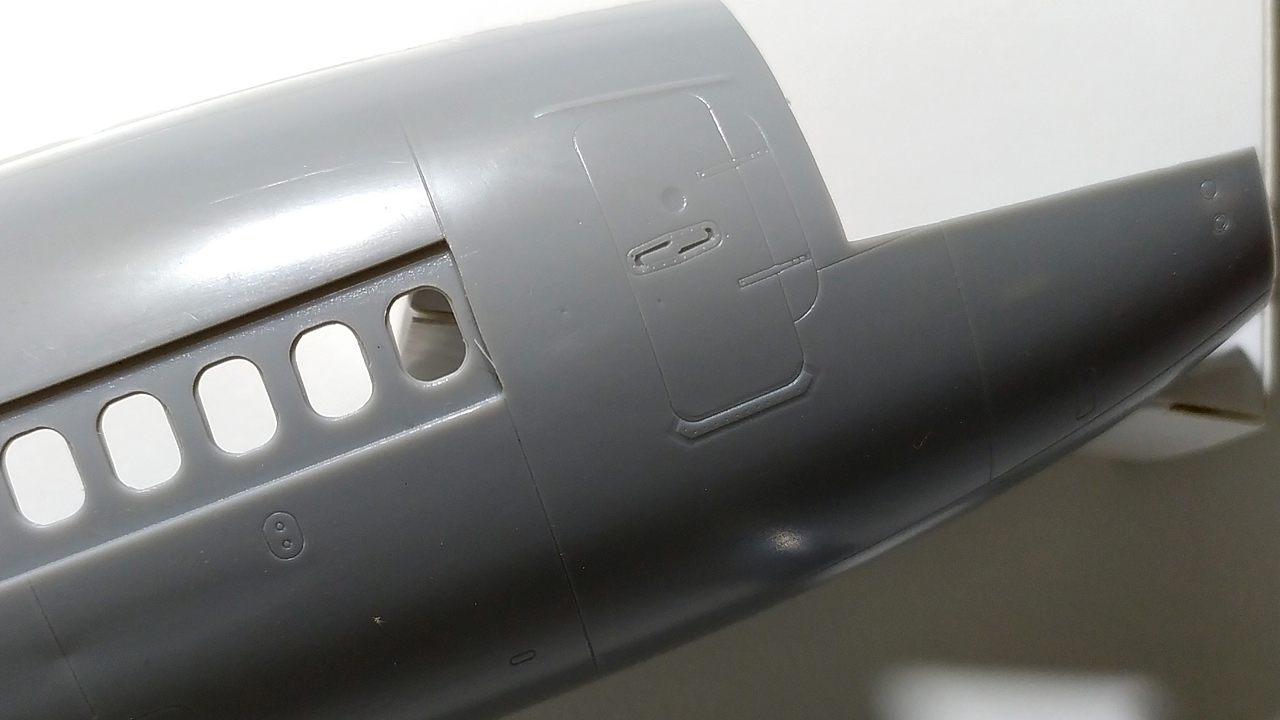
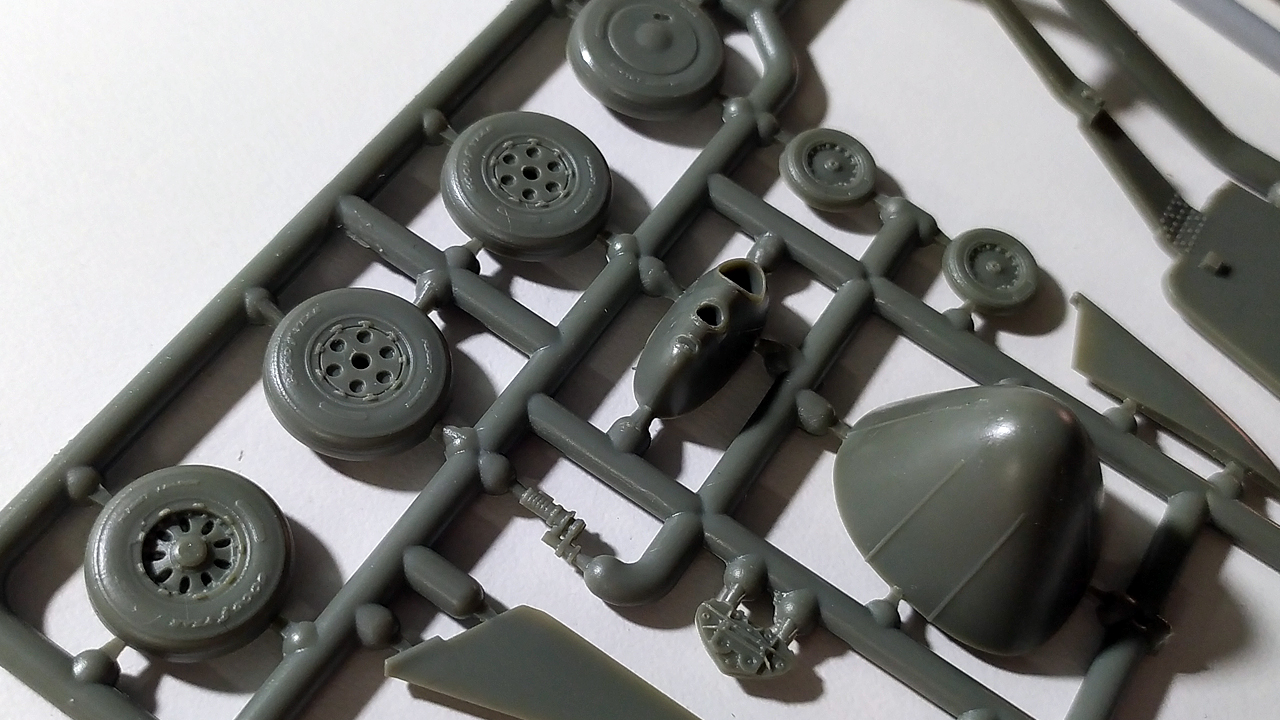
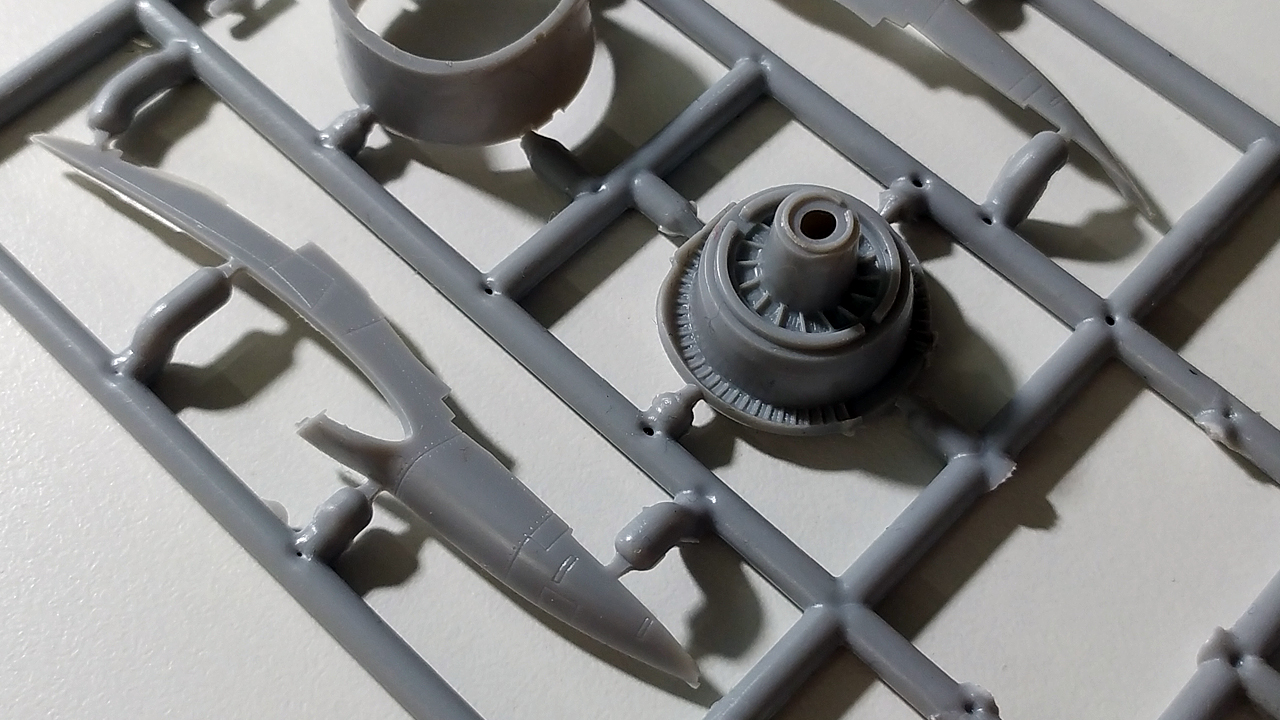
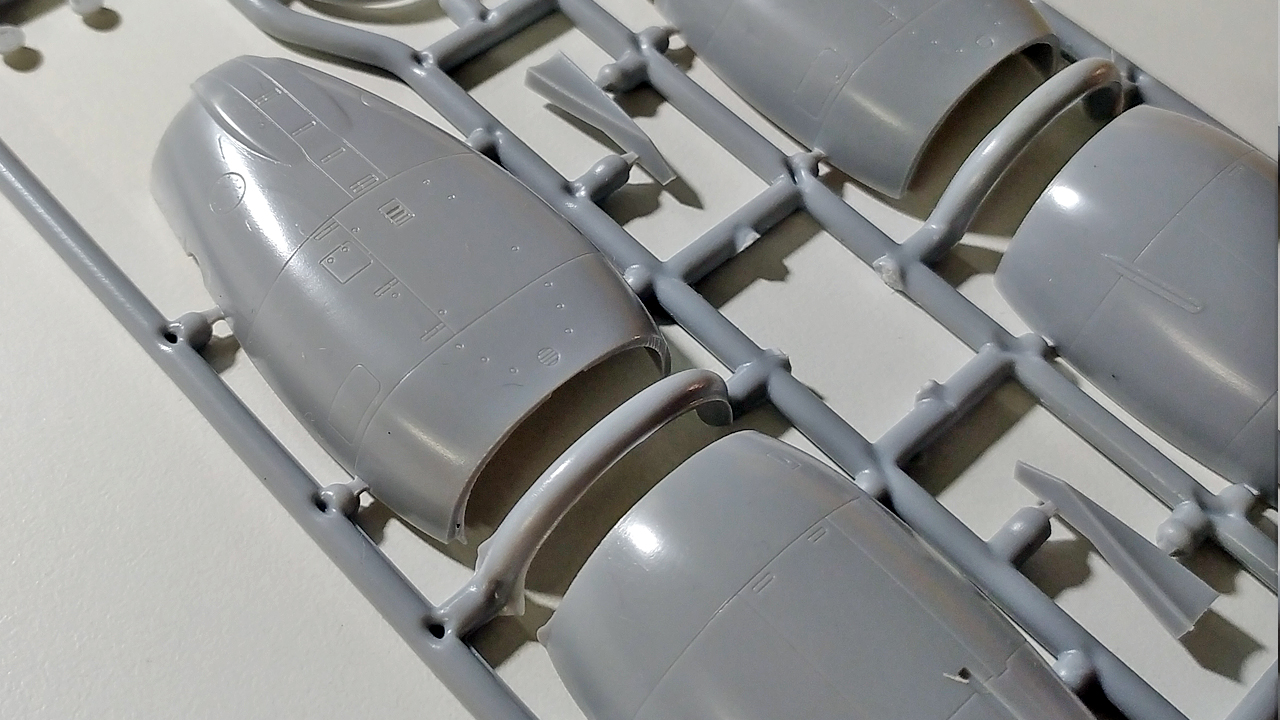
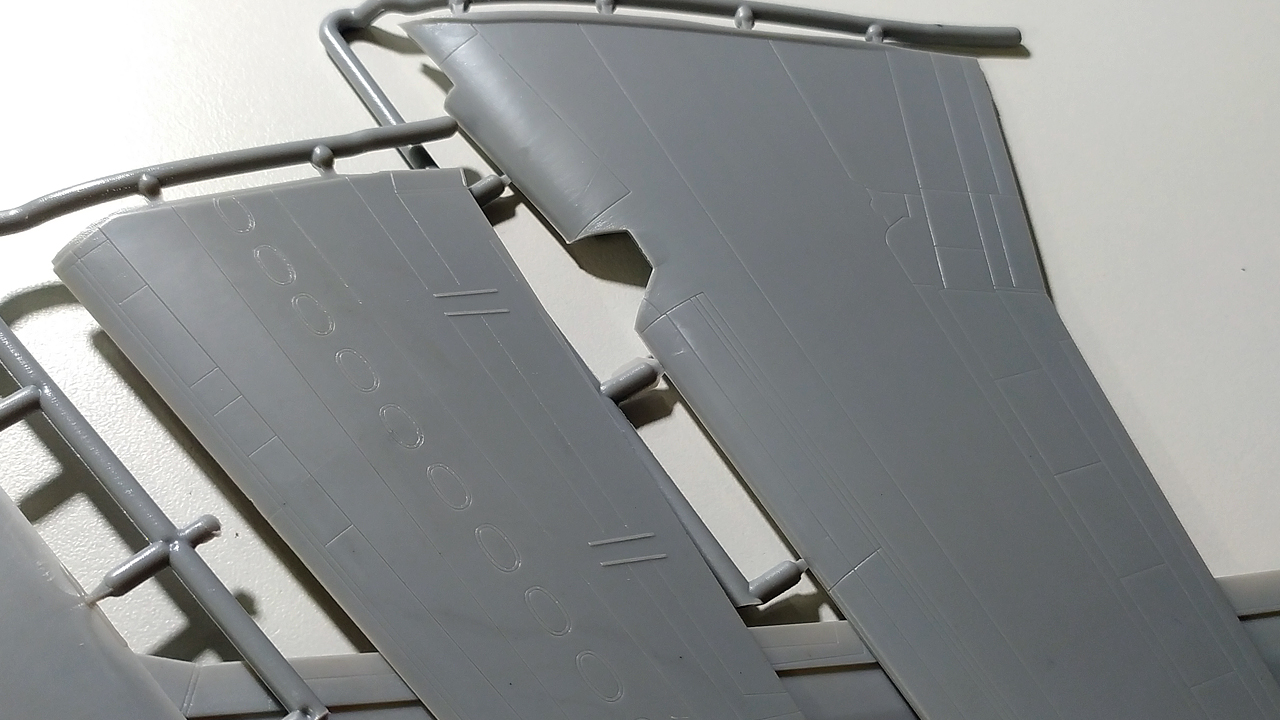
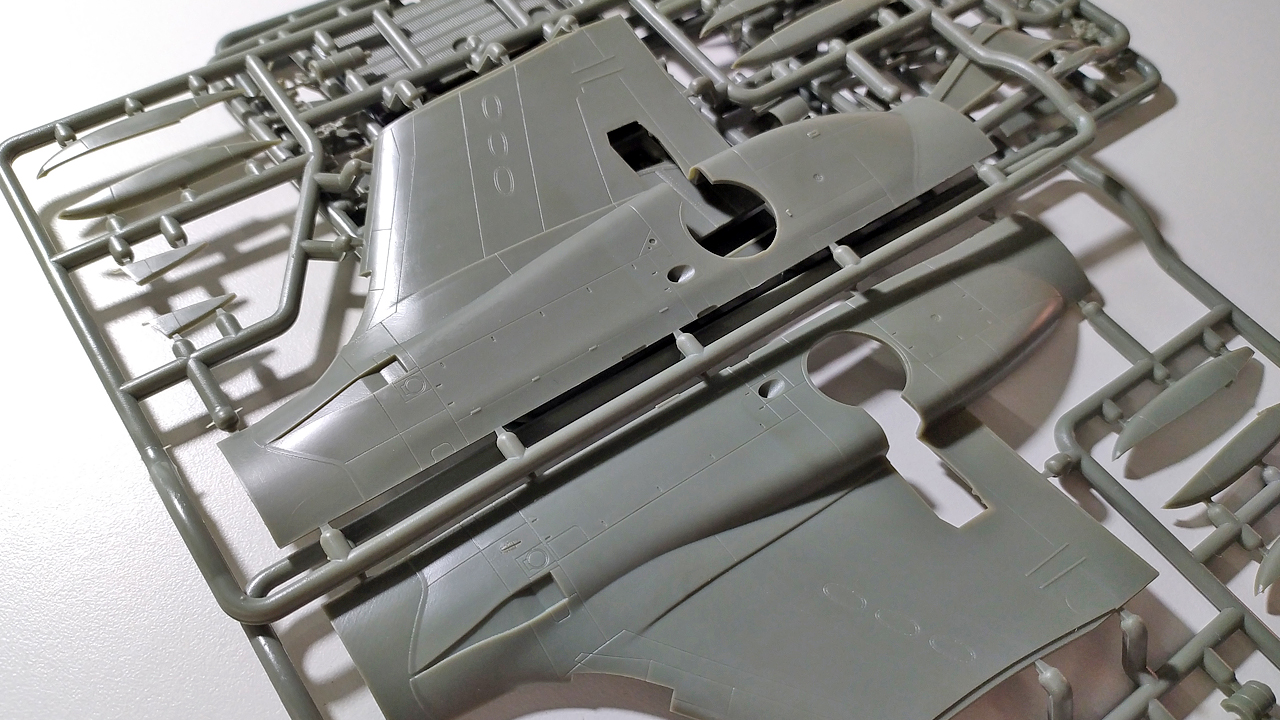
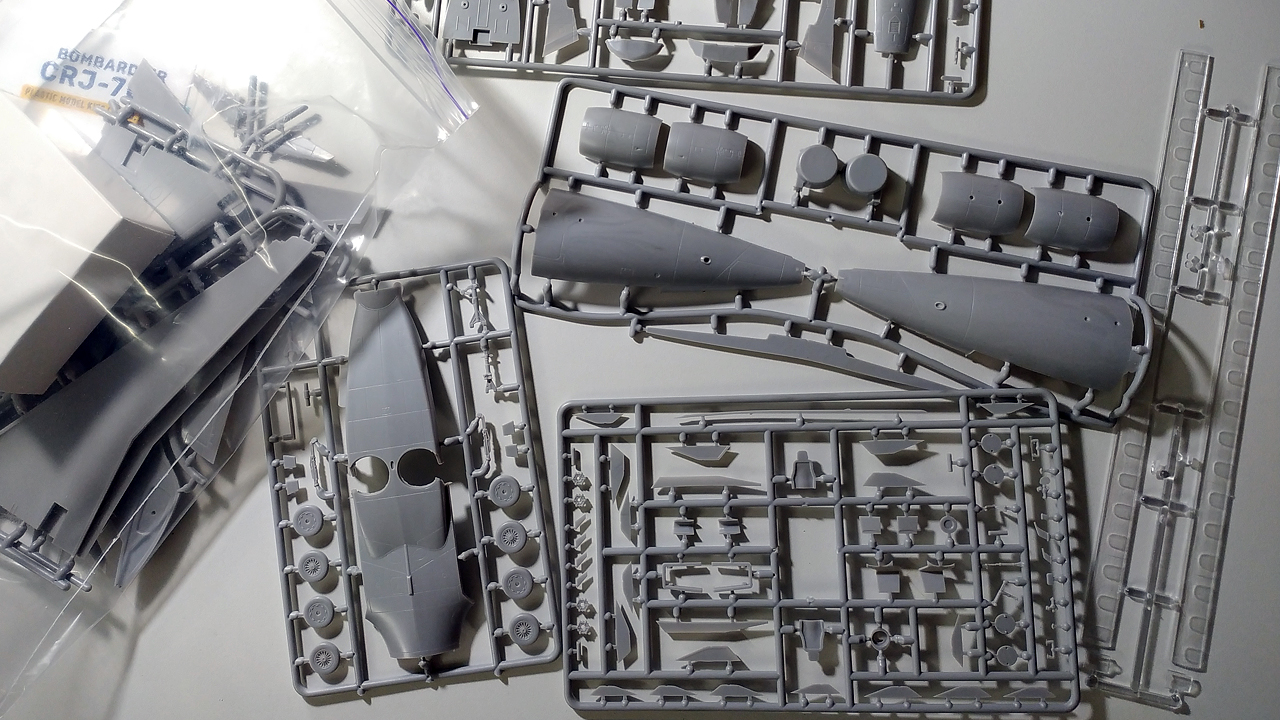
These are the kit contents:
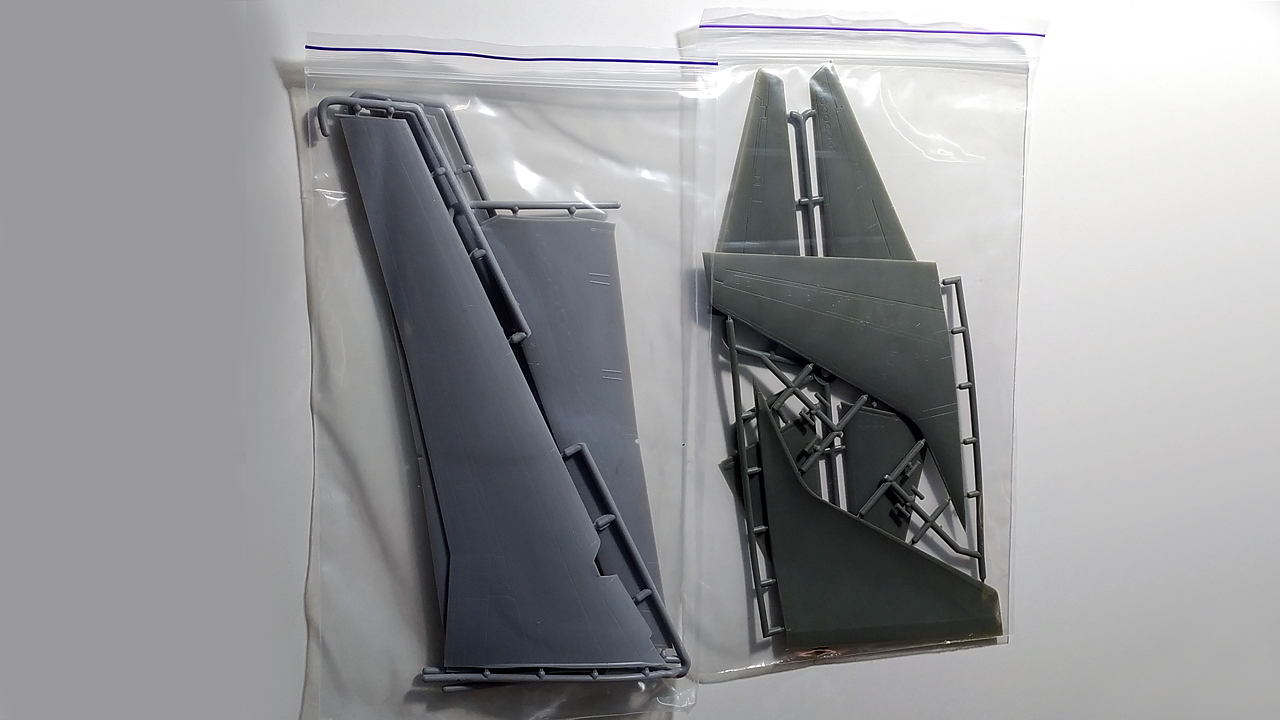
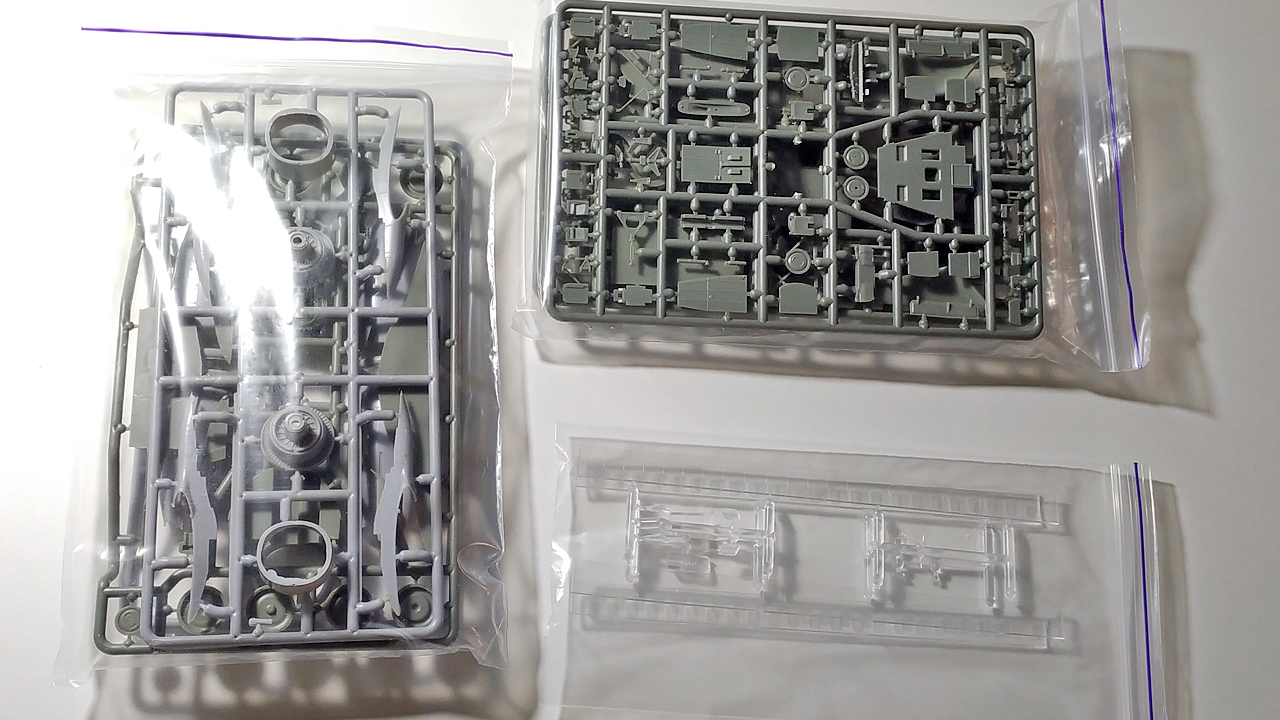
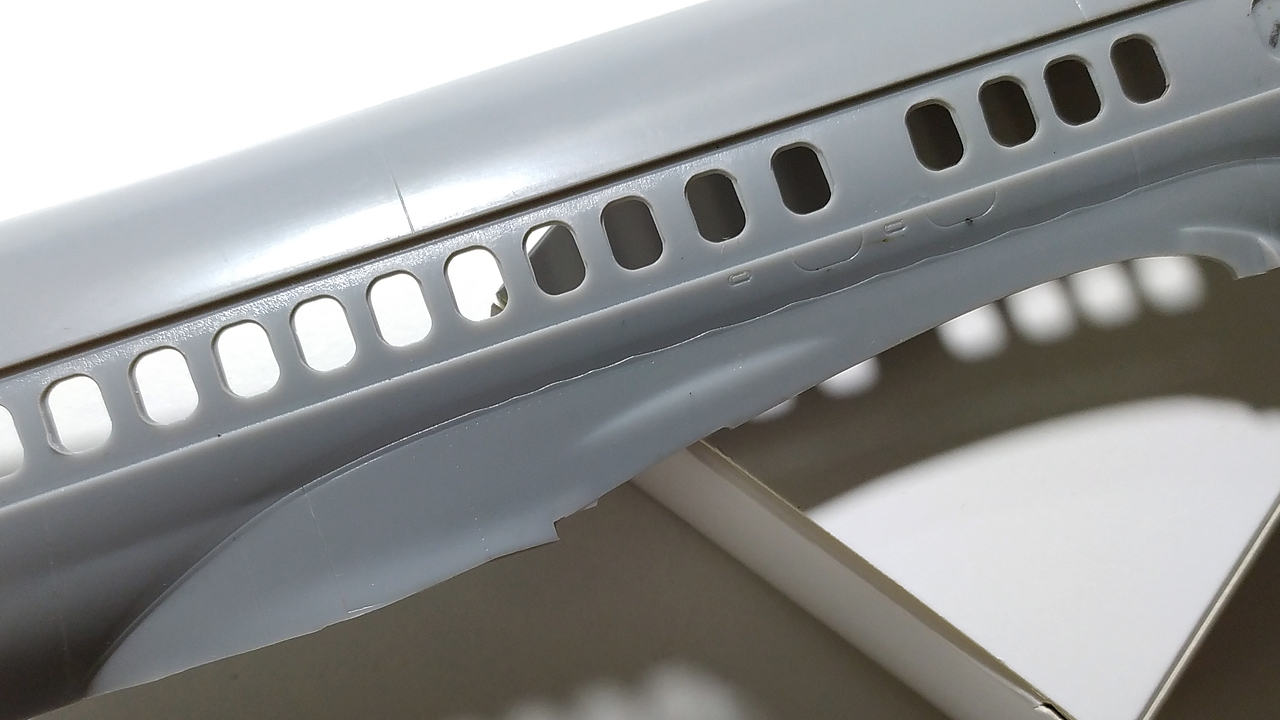
Some closeup photos:
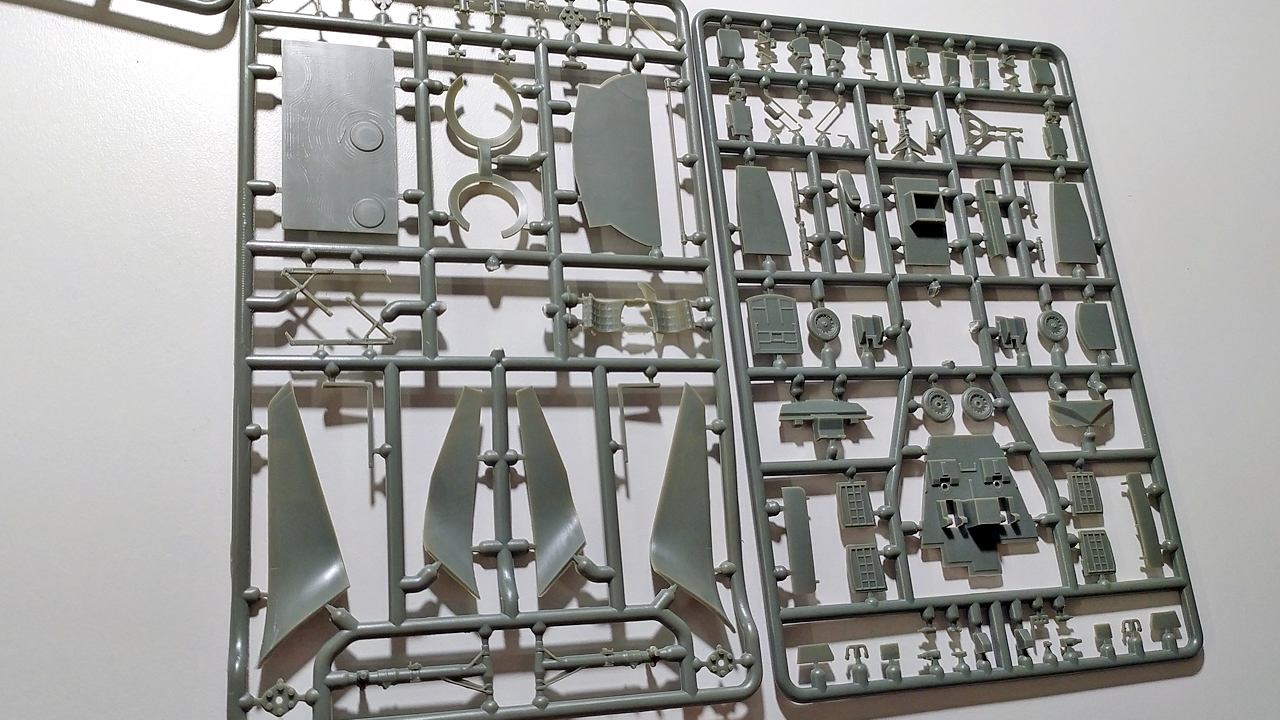
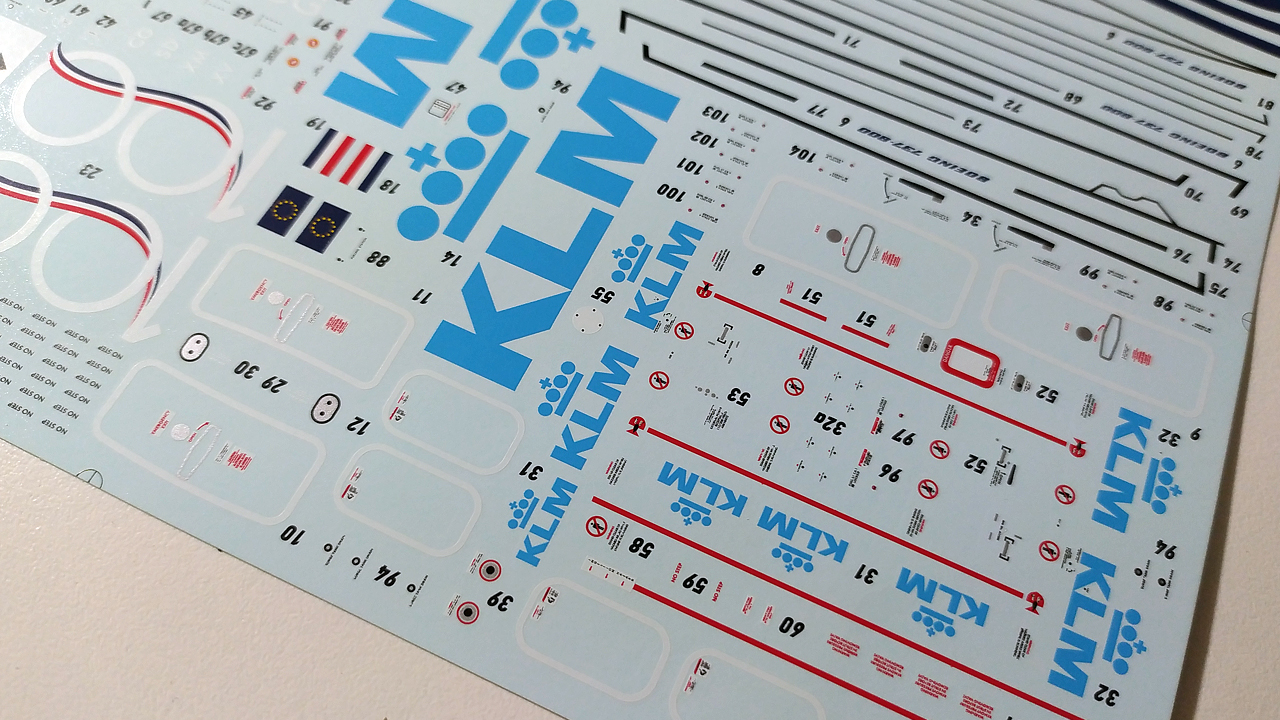
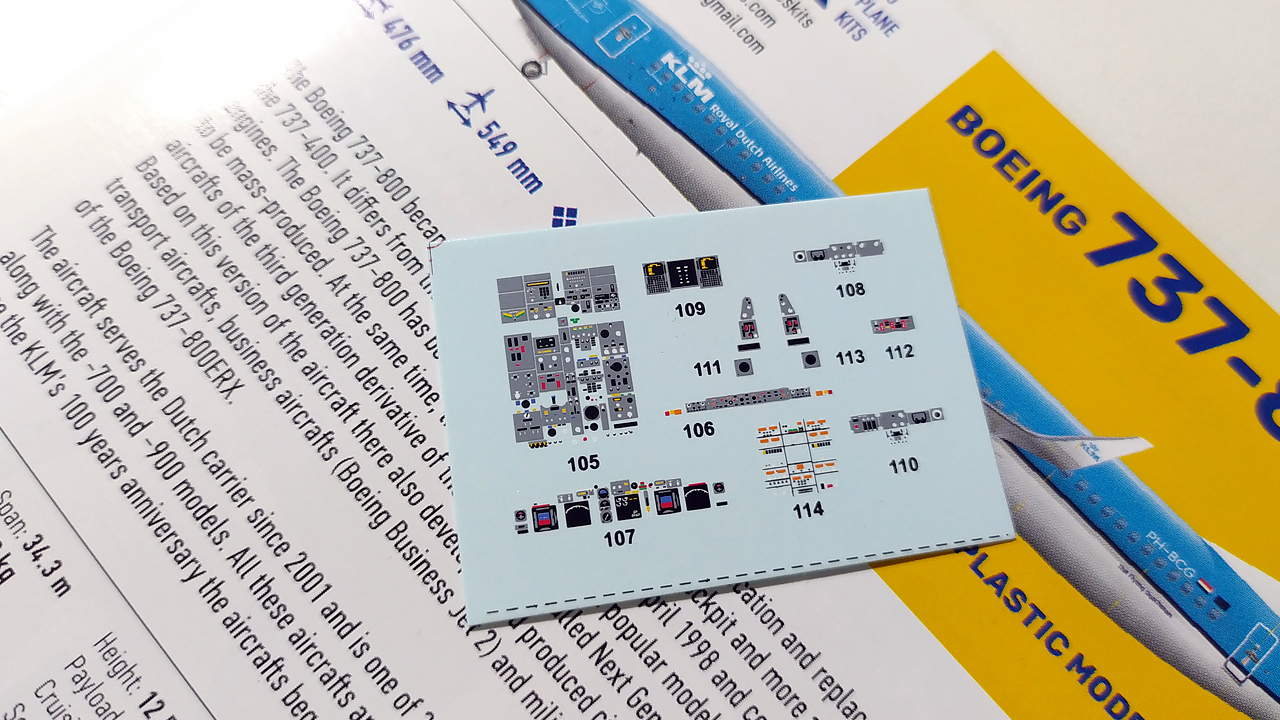
The decals are amazing, the ones for the cockpit are 3D decals.
This not only applies for their B737-800, but the CRJ-700 is also a very very detailed kit:
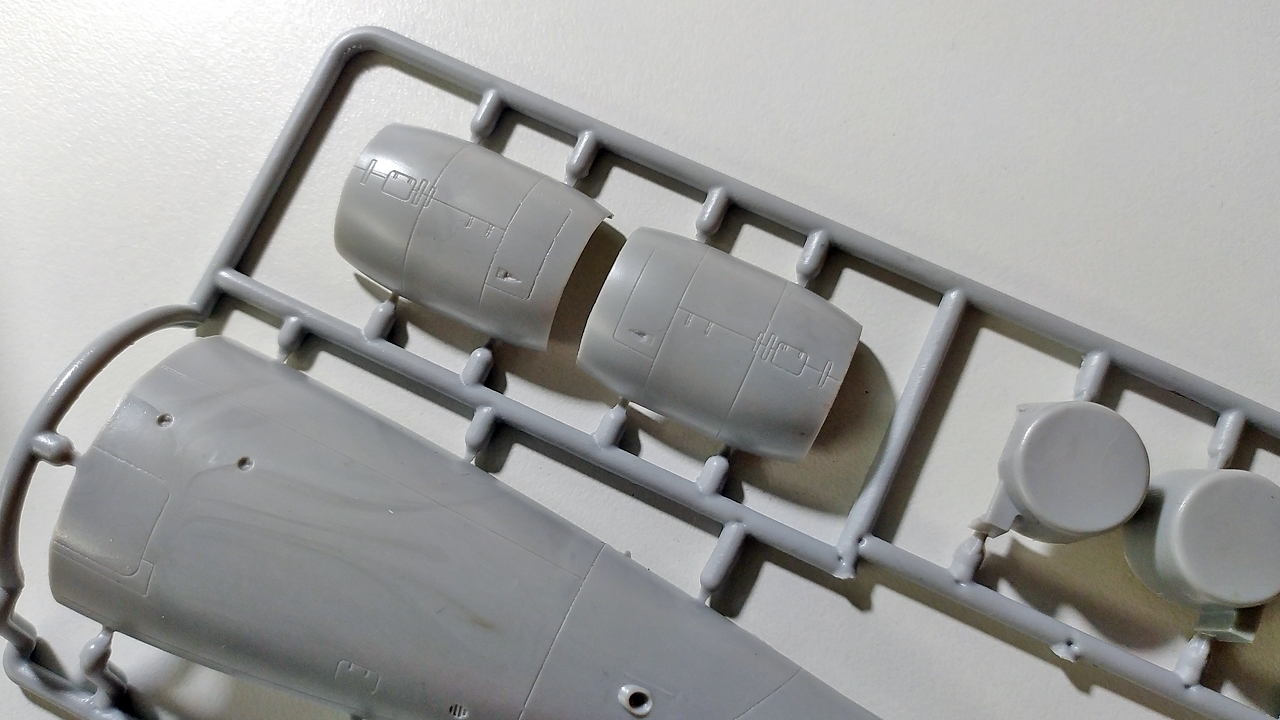
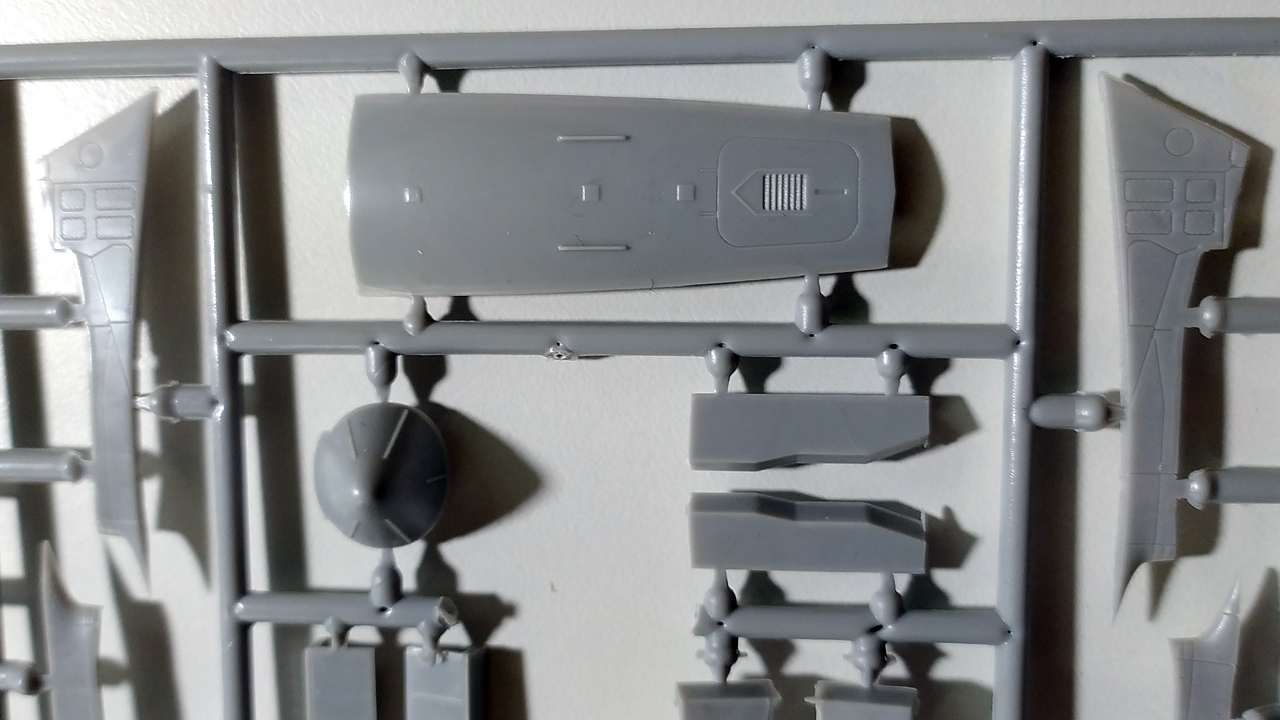
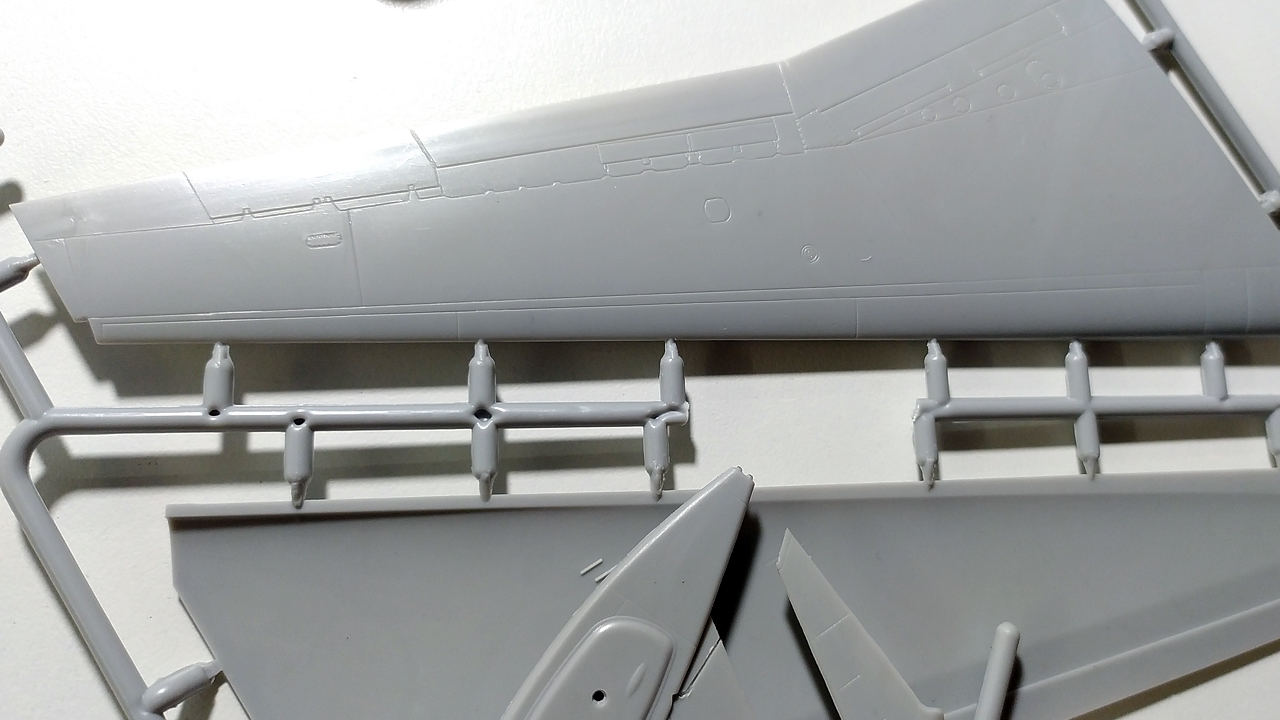
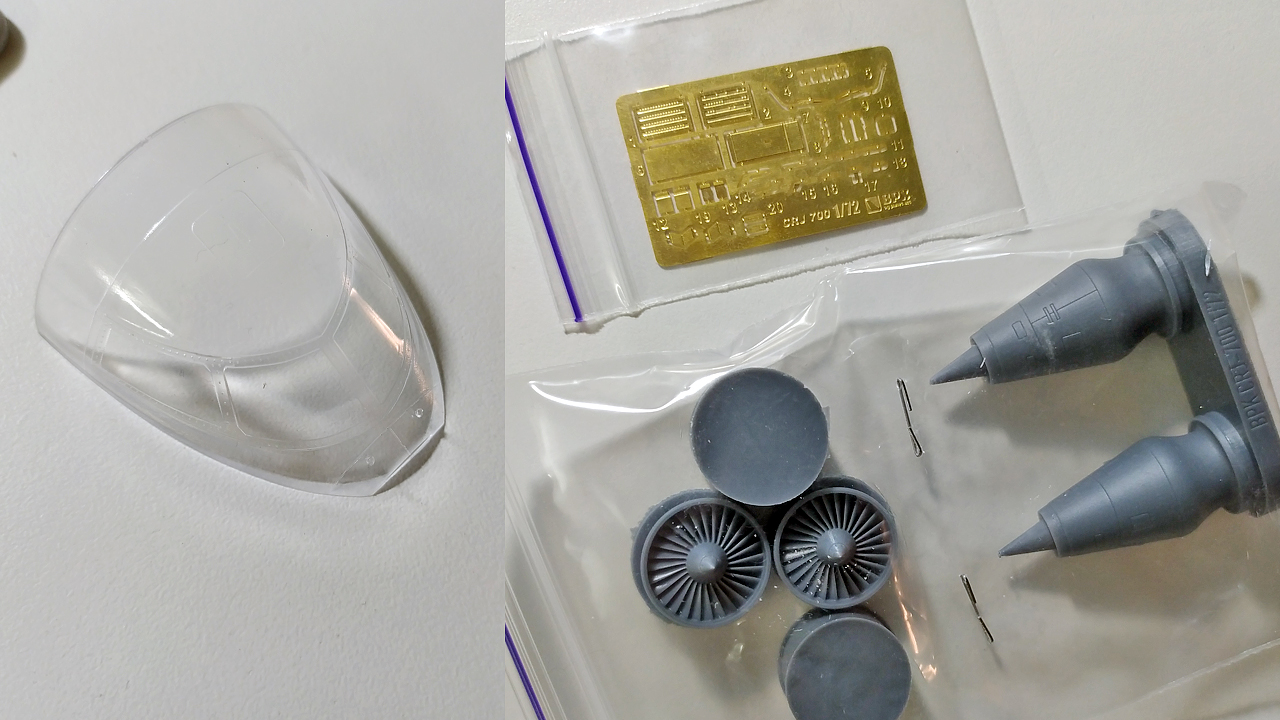
These 1/72 kits have a size that allows for so much detail, and BPK has done an amazing job with these.
I was not expecting that level of detail, to be honest, I am always used to the same plastic kit manufacturers, and me personally who has never moved out of that zone, finding these kits has been a blessing.
I would very much like to do stuff for them. If I can add lights to a 1/144 model, to 1/72 is of course also possible, the 1/12 cockpit I am working on for the B737NG could be converted for this kit. I am, however, going to take it easy and perhaps just enjoy building such wonderful models in the future. It is not a project for me to do currently, but I am saving these for a special occasion.
Reskit Models were very helpful and answered emails in such short notice despite the situation they currently live in. This is commitment to do what they love doing and to me, opening these kits and seeing how everything was done, has been a big, big inspiration for my future works.
That is all for now, as I mentioned earlier, I will be very busy during the next weeks, but I will be back with another update as soon as I progress with the other ongoing projects.
Wish all is going well for you! Take care everyone.
Best wishes,
Guillem